





Starting sewing doesn’t mean buying every gadget on the shelf. There are hundreds of sewing tools out there, but a relatively small collection of good-quality essentials covers most everyday projects.
The right tools make sewing easier, improve accuracy, and save a lot of frustration. From a sharp pair of fabric scissors to the humble seam ripper, each item earns its place in a sewing kit for a reason. Whether you’re completely new to sewing or organising your existing supplies, here’s what we think every sewist should have, and why.
1. A Good Pair of Fabric Scissors
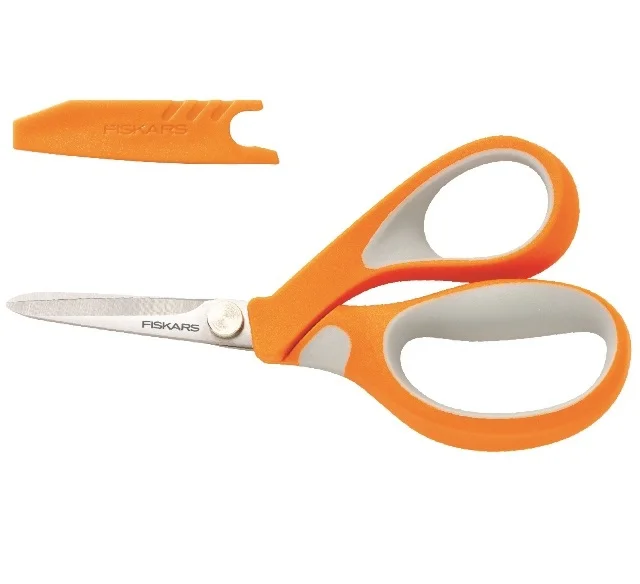
If there’s one sewing tool worth investing in, it’s a quality pair of fabric scissors, designed to cut material cleanly without pulling or fraying the fibres.
The golden rule: never use fabric scissors on paper. Paper dulls the blades quickly, and once that happens, every fabric cut afterwards suffers for it. Keep a separate, cheaper pair for paper patterns and general craft work.
Two sizes cover most needs. A 10″ (25cm) pair is built for cutting out fabric and handles it effortlessly, while an 8″ (20cm) pair is the more versatile everyday choice, light enough to keep by the machine, and still capable of cutting out, clipping notches, and grading seams. Many sewists end up owning both, but if starting with one, the smaller size does more day to day.
Blade finish matters too. Micro-serrated blades grip better on curves and detailed work, while a traditional knife-edge blade suits general fabric shearing and can be resharpened repeatedly over its life, unlike a cheaper stamped blade that dulls and stays dull.
Look for scissors that feel comfortable in the hand, have sharp stainless-steel blades that open and close smoothly, and are large enough for the fabric you cut most. Quality shows up in the small details: blades that meet perfectly along their whole length with no gap, a pivot screw that can be tightened as it wears, and a noticeable weight and balance rather than a light, flimsy feel. “Buy once, buy well” holds up here, a well-made pair, wiped clean after use, oiled occasionally, and never dropped or used on paper, lasts for years, where a cheap pair needs replacing within a season.
2. Small Embroidery Scissors
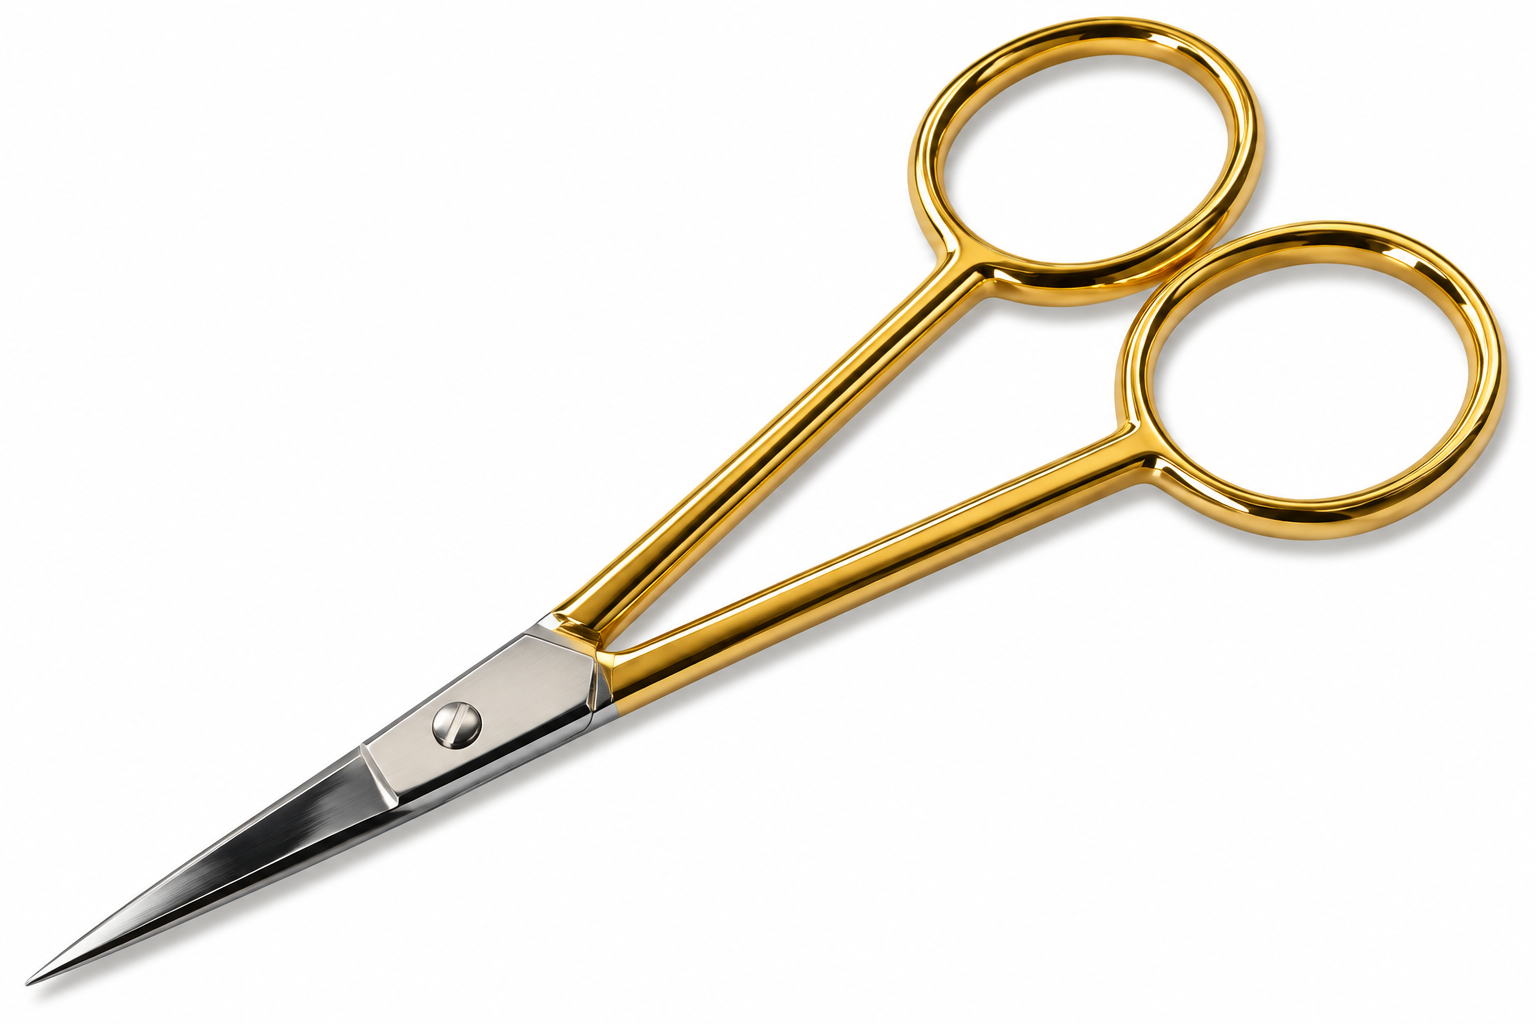
Alongside the main fabric scissors, a small, sharp pair of embroidery scissors earns its keep constantly. They’re ideal for cutting threads, trimming close to stitching, embroidery work, small detailed cuts, and pulling loose threads.
A good pair is typically around 4″ (10cm), small enough to snip a single thread accurately without also cutting into the fabric or stitching next to it. Look for a fine, sharp point rather than a rounded one, and stainless steel that holds its edge, cheap embroidery scissors tend to go blunt fast given how often they get used. Comfortable finger holes matter more than they sound, since these get picked up and put down constantly through a project.
Keep them next to the sewing machine and they’ll likely become the tool reached for most often, even more than the big scissors.
3. Tape Measure
A flexible tape measure is essential for taking body measurements, measuring fabric, checking pattern dimensions, measuring hems, and checking finished garments.
Standard tape measures run 60″ (152cm), and most are around 5/8″ wide, which conveniently matches the standard seam allowance used in most sewing patterns, handy for a quick check without reaching for another tool. Fibreglass or reinforced polyester tapes are the better buy over plain vinyl or cloth, since they genuinely resist stretching, where a stretched tape gives inaccurate readings with no obvious sign anything’s wrong until a garment doesn’t fit.
Good quality also shows in the printing: markings that start right from the very edge (not a gap before zero), bright, clearly legible numbers, and both metric and imperial scales on the same tape. A double-sided tape, marked from 1 at both ends, saves the fiddle of finding the right end when measuring in a hurry.
4. Sewing Gauge
A sewing gauge is a small ruler with an adjustable sliding marker, particularly useful for repeatedly measuring the same distance: hems, seam allowances, button placement, pleats, tucks, and spacing.
The standard size is 6″ (15cm), long enough for most hemming and seam work without becoming unwieldy. Metal gauges hold their shape and their sliding marker stays put more reliably over years of use than a plastic one, which can loosen or crack with rough handling, though a plastic gauge is perfectly adequate for occasional use. Either way, look for both metric and imperial markings printed clearly, since hems and seam allowances are given in both depending on the pattern.
It doesn’t feel essential at first, but once owned, it’s hard to go back to measuring the same distance over and over by eye.
5. Pins
Pins hold fabric layers together before and during sewing. Standard flat-headed dressmaking pins are safe to iron over and suit most general work, while other pin types exist for specific situations.
Round glass-head pins are worth choosing over plastic-headed ones, since glass doesn’t melt under a hot iron. Ballpoint pins, with a rounded rather than sharp tip, are designed specifically for knit fabrics, where a standard pin can tear the weave rather than sliding between the fibres. Fine silk pins suit delicate fabrics that mark or snag easily, thanks to their extra-slim shaft. Flower head pins lie completely flat once inserted, useful for stitching right up close without the presser foot catching a raised pin head, while tiny appliqué pins suit small pieces and hand-pieced curved seams where a standard-length pin gets in the way.
Whichever type is chosen, replace bent, blunt, or damaged pins rather than continuing to use them, a damaged pin can snag or mark fabric before there’s any obvious sign it’s the pin at fault. Quality pins hold a fine point through repeated use rather than blunting or bending after a handful of insertions, cheap pins are usually where that shows first.
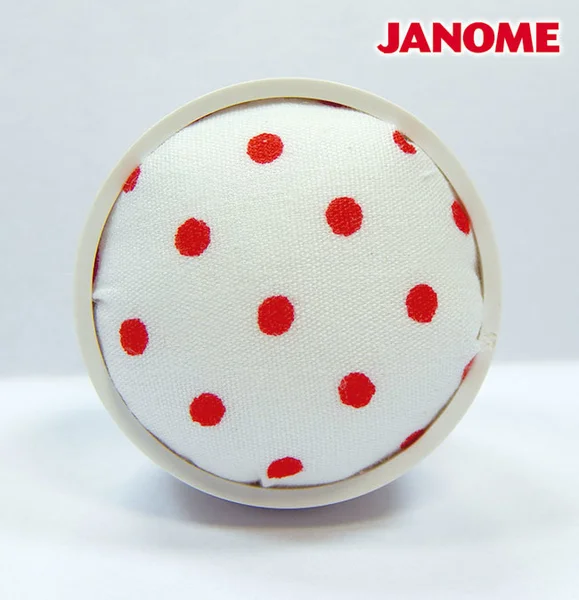
6. Pincushion or Magnetic Pin Holder
Once using pins, somewhere safe to keep them becomes essential, and the three main options each suit a different way of working. A traditional tabletop pincushion, ideally with a solid, weighted base rather than a light one that tips over, works perfectly well for sewing at a fixed spot. A magnetic pin holder uses a strong internal magnet so pins stand ready to grab with one hand, and a good one is also genuinely useful for the moment a whole box of pins ends up on the floor, just run it over the area and it picks nearly everything up. A magnetic wrist band is worth considering for anyone who moves between the cutting table, machine, and iron a lot, keeping pins to hand without a pincushion to carry around.
Quality in any of the three comes down to how securely it holds pins, whether that’s a magnet strong enough not to drop them or a cushion dense enough that pins don’t work themselves loose and fall out.
7. Seam Ripper
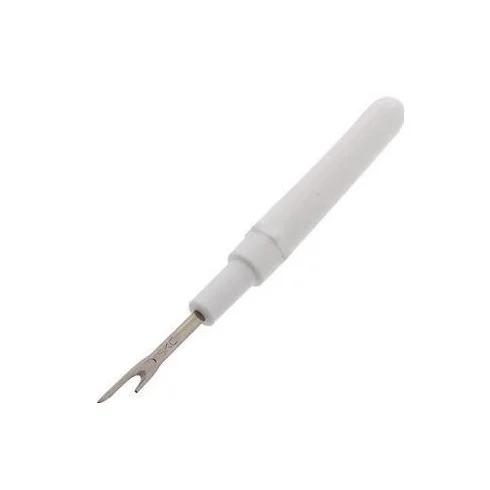
Every sewist needs a seam ripper. It doesn’t matter whether the sewing started two days or twenty years ago, eventually something needs undoing.
A seam ripper cuts stitches carefully without damaging the surrounding fabric. Use it for removing incorrect seams, opening buttonholes, taking out basting stitches, alterations, and repairs.
Seam rippers generally come with a small or a large blade. A small blade suits precision work, like unpicking a buttonhole or working on lightweight fabric, while a larger blade makes faster work of long seams, heavy fabrics, or quilting projects. Many sewists end up keeping one of each.
Quality is easy to feel: a sharp, smooth blade slides under stitches without snagging or needing much pressure, where a dull one drags and is far more likely to slip and catch the fabric instead of just the thread. The rounded protective ball at the tip is there specifically to stop that slip turning into a cut, so it’s worth checking a new one still has it intact. A cushioned or shaped grip reduces hand fatigue on a long unpicking job, and some rippers add a small brush for sweeping away cut thread, a nice extra rather than a necessity. Making mistakes is simply part of sewing, and a good seam ripper makes correcting them far less stressful.
8. Hand Sewing Needles
Even when most work happens on a machine, hand sewing still has its moments, finishing garments, sewing on buttons, repairs, invisible stitching, tacking, and small details.
A mixed needle pack is the cheapest way to have the right size on hand, but it’s worth knowing what’s actually in it. Sharps (sizes 1-11) are the standard all-purpose hand needle. Betweens (sizes 3-11) are shorter, favoured for fine work like backstitch, appliqué, and quilting. Darners (sizes 5/0-9) are long with large eyes, suited to mending with thicker thread or yarn. Milliners (sizes 5-10) are long with round eyes, suited to firmer fabric and to smocking and pleating. Crewel needles (sizes 3-10) have a larger eye that’s easier to thread, useful for embroidery. Each type exists for a genuine reason rather than just variety for its own sake.
Quality hand needles stay smooth and don’t nick fabric as they pass through, and hold a fine, unbent point over repeated use, nickel-plated needles resist rust better than plain steel, which matters if they’re ever left out or stored somewhere damp.
9. Sewing Machine Needles
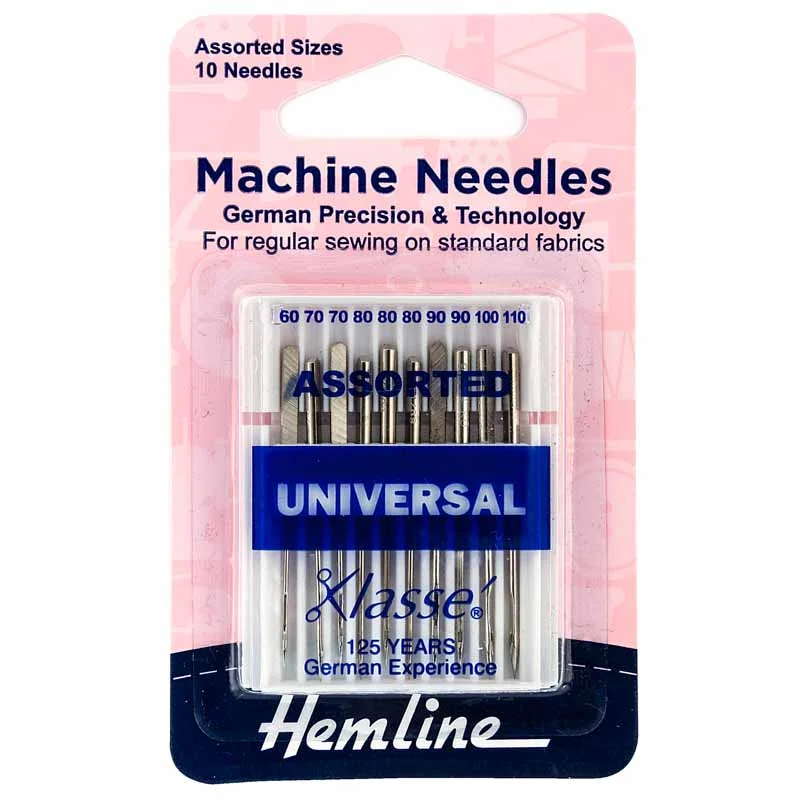
Sewing machine needles are consumable and should be replaced regularly, not just when something goes visibly wrong.
Needles are colour-coded and sized on a dual system, for example 70/10, where the higher number means a thicker needle. Universal needles, with a slightly rounded point, are the default choice for most fabrics. Ballpoint (orange) needles push between knit fibres rather than piercing them, preventing runs in stretch fabric. Stretch (yellow) needles go further still, built for genuinely elastic fabrics like swimwear, where even a ballpoint needle can skip stitches. Denim needles (blue) resist deflection through thick, tightly woven fabric. Quilting needles (green) are tapered to reduce skipped stitches through multiple layers. Embroidery needles (red) have a wider eye that protects delicate embroidery thread from friction.
Using the wrong needle for the fabric is a common, easily avoided cause of skipped stitches, damaged material, and broken thread. Needles are inexpensive and wear out with use regardless of brand, but a good-quality needle keeps a sharper point for longer and is machined more precisely at the eye, which matters for reducing thread friction and breaks, so it’s worth buying a recognised needle brand even though it’s a genuinely small cost either way.
Hemline Sewing Machine Needles
10. Spare Bobbins
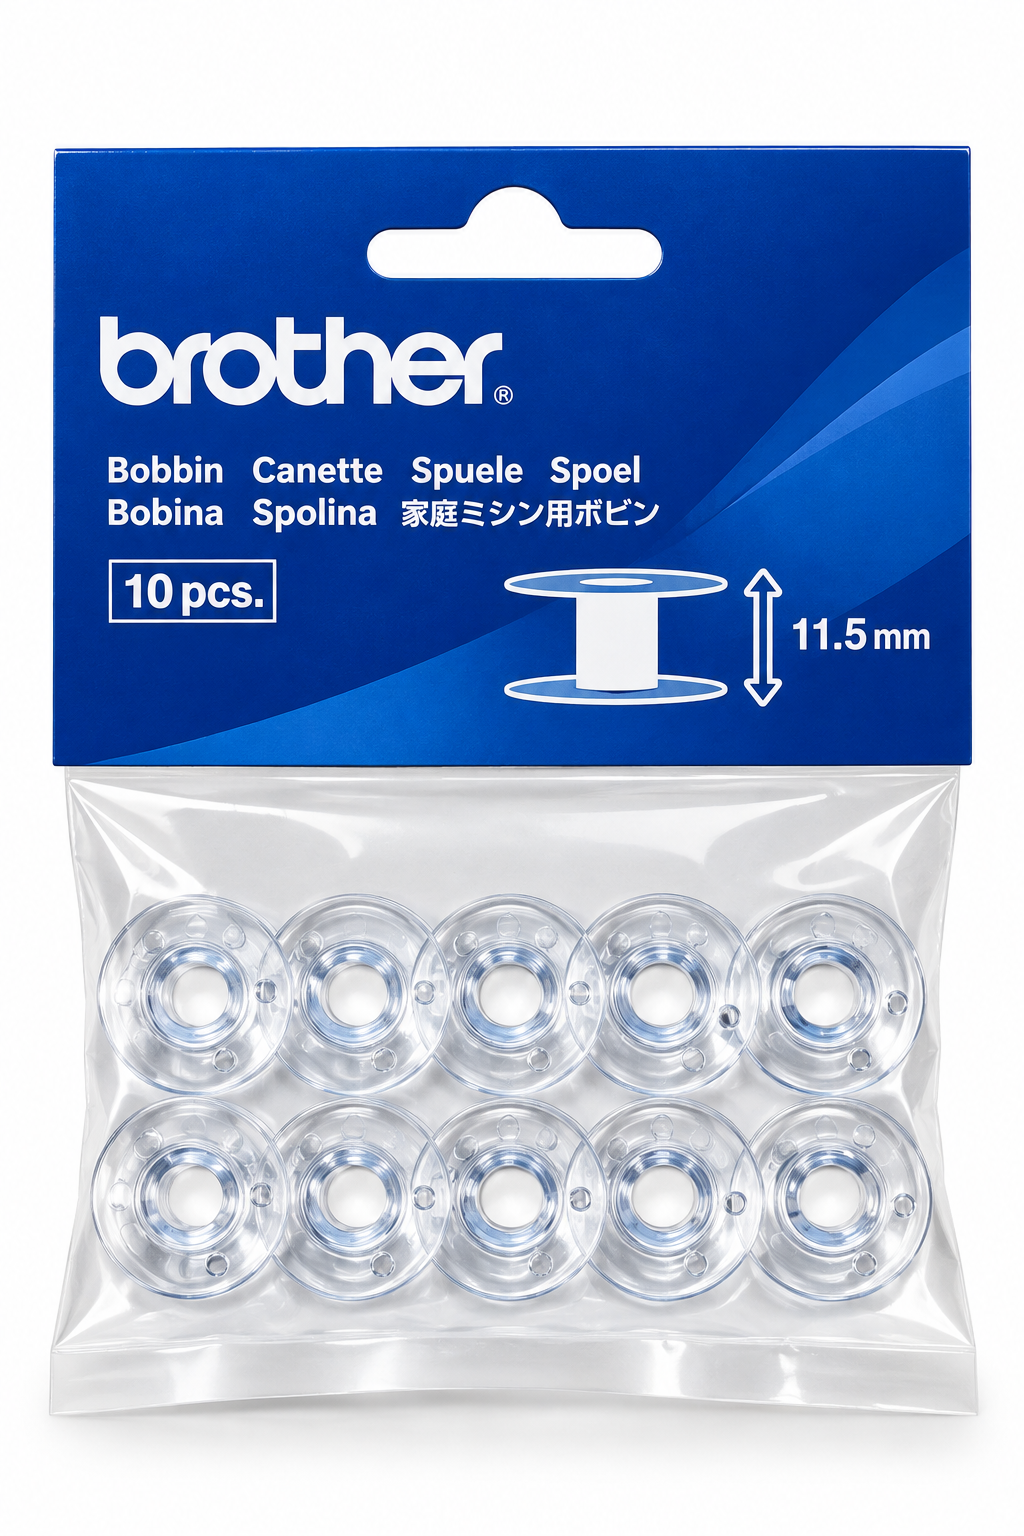
There’s no such thing as too many bobbins. Keeping several spare, pre-wound in commonly used colours, saves constantly unwinding and rewinding the same one.
Before buying more, check they’re the correct type for the machine. Most modern domestic machines, including Brother and Janome, use the same Class 15 bobbin, roughly 7/16″ high and typically plastic, while some older or multi-needle machines use a different Class L or Class 66 size. Bobbins that look almost identical can have slightly different dimensions between machines, and a bobbin that physically fits isn’t automatically the correct one to sew with. Checking the manual first saves a wasted purchase.
Plastic is the preferred material for almost all domestic machines, since it creates less friction and spins more smoothly in the bobbin case than metal, which is mainly reserved for high-speed and multi-needle machines. A good-quality bobbin holds a consistent, even shape rather than warping slightly, which is what causes uneven tension and thread that unwinds unevenly mid-project.
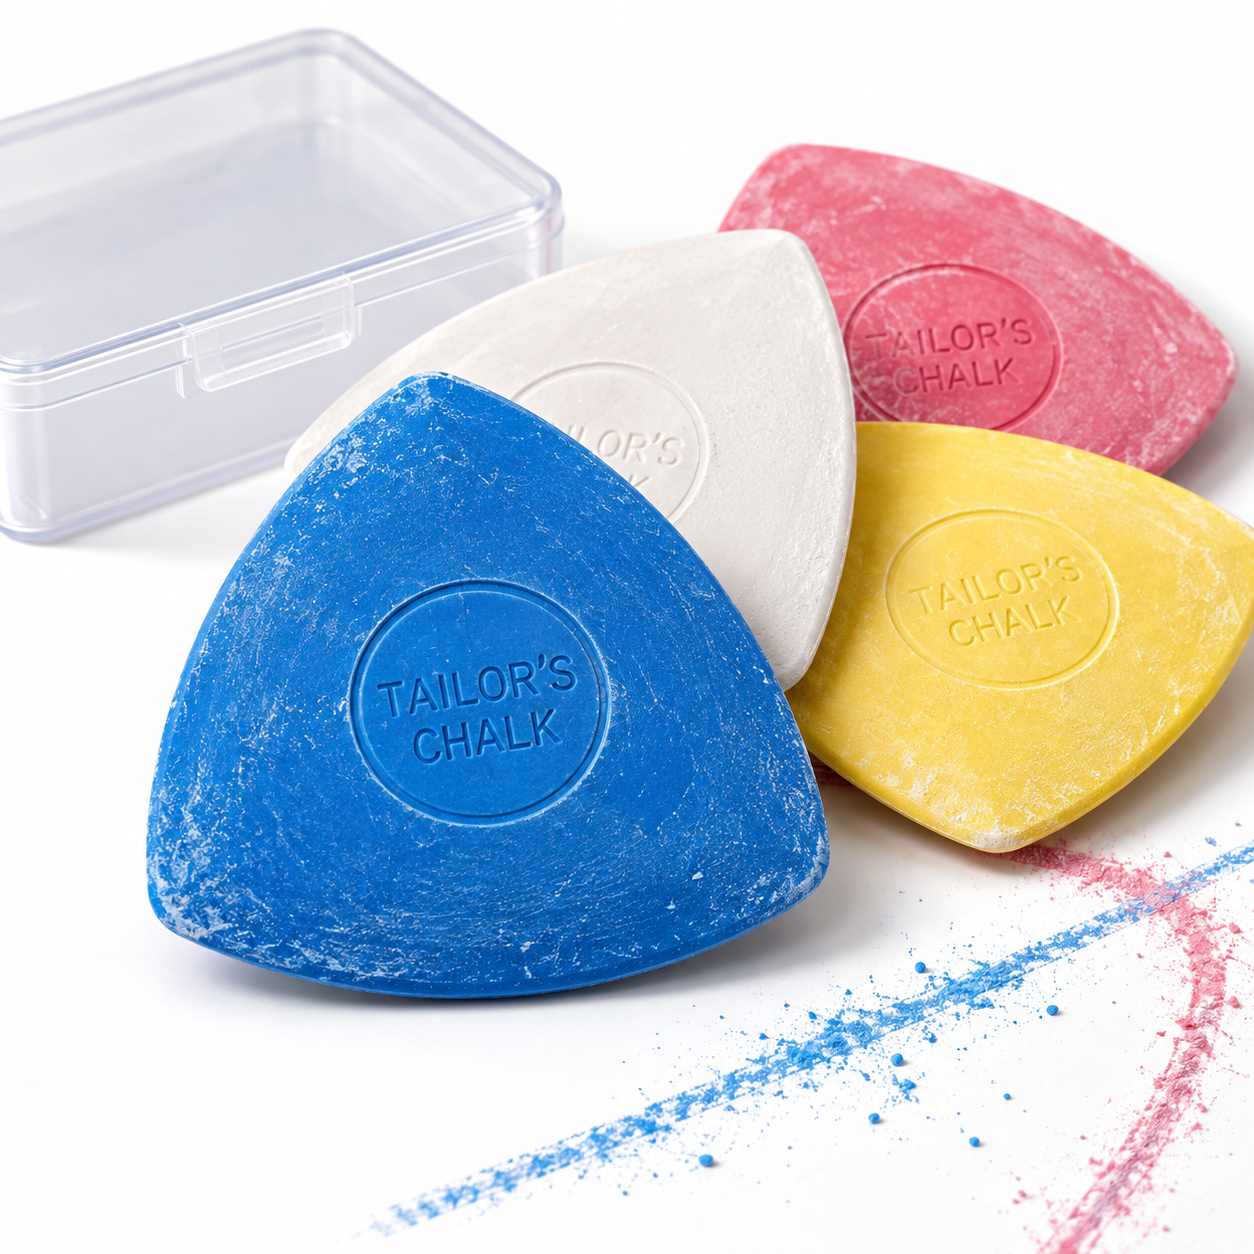
11. Tailor’s Chalk or Fabric Marker
Accurate marking transfers information from pattern to fabric: darts, pleats, button positions, pocket placement, cutting lines, and matching points.
Tailor’s chalk comes in a few forms: a flat wedge, good for long straight lines pulled along a ruler; a pencil, better for fine detail and precise points; and a rolling wheel dispenser, which lays down a thin, even line quickly over a longer distance. Modern washable or air-erasable fabric pens are a popular alternative, marking cleanly and disappearing with water or simply time, though they suit lighter fabrics better than chalk does on dark ones.
Quality matters most in how cleanly a marker removes. A good chalk or pen leaves a clear line while marking and comes away completely afterwards, with no ghosting or residue. Always test a marking tool on a fabric offcut first, since colour, fabric weave, and even humidity can all affect how easily a mark lifts back off.
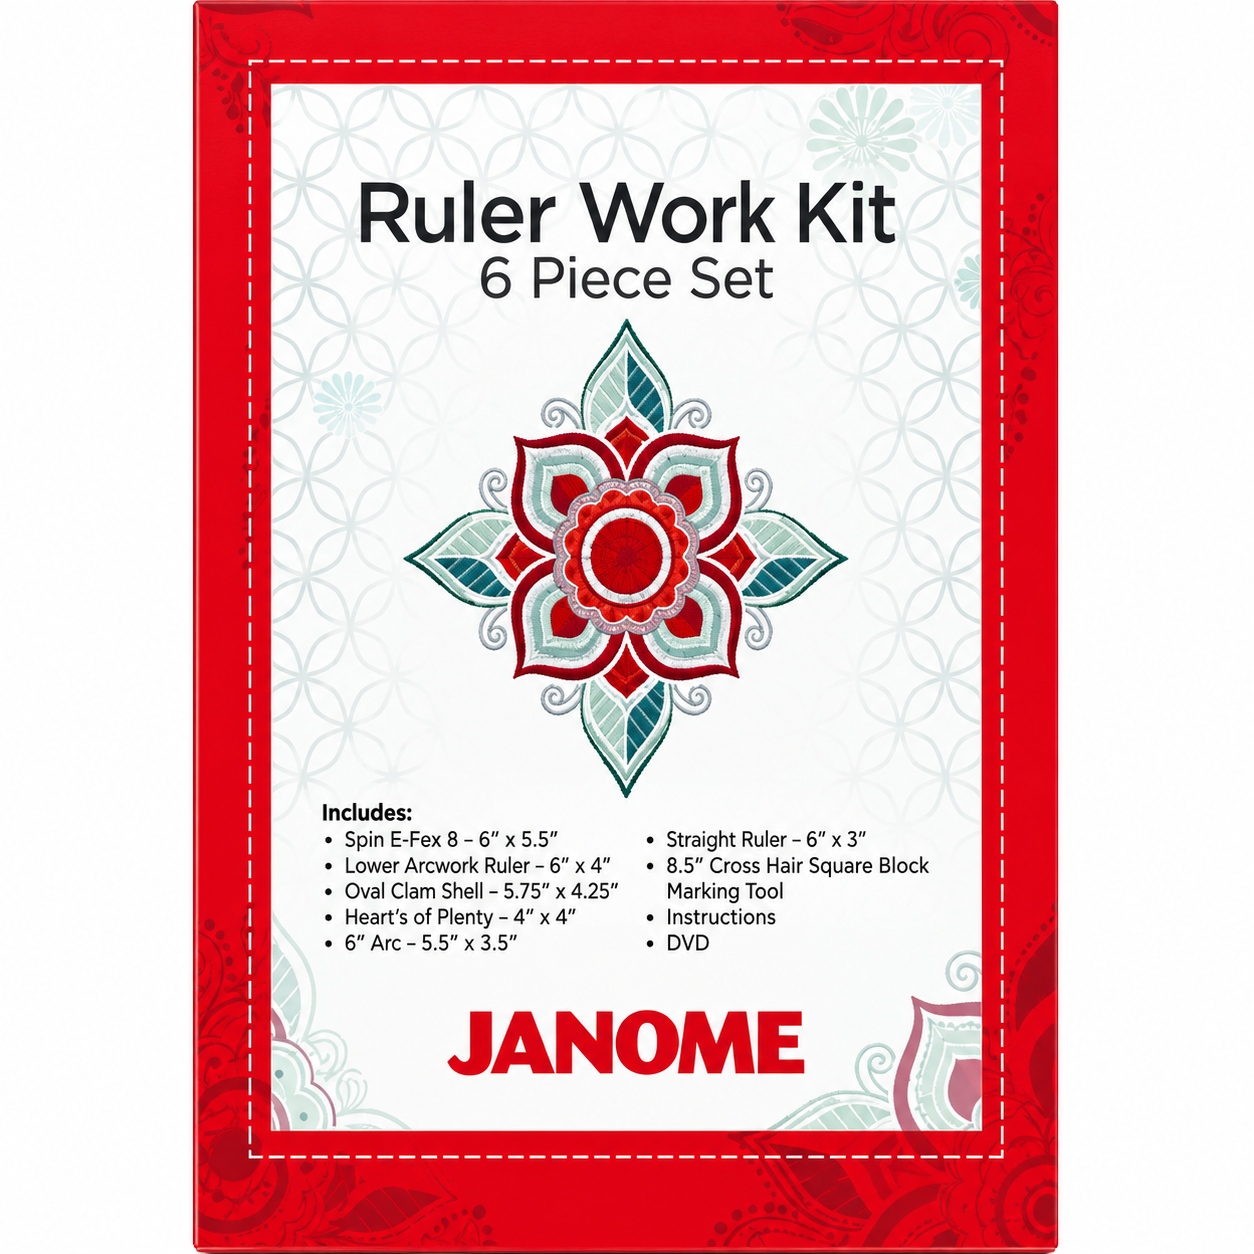
12. Sewing Ruler
A good ruler is invaluable for accurate measuring and marking. A transparent quilting ruler is particularly useful, since the fabric underneath stays visible while measuring. Use one for measuring fabric, marking straight lines, checking seam allowances, patchwork, quilting, and pattern alterations.
Quilting rulers come in a range of set sizes, a long 6″ x 24″ ruler for cutting fabric strips, and a 12.5″ square for trimming and squaring up blocks are two of the most commonly reached for. Good quality shows in the acrylic itself: a thicker ruler (around 3mm) resists chipping and warping over time, and laser-cut, accurately printed markings stay precisely true, where a cheaper ruler can be very slightly out at the edges, throwing off every cut made against it.
If a rotary cutter is part of the kit, make sure the ruler is rated for rotary cutting, an ordinary ruler’s edge won’t hold up to repeated blade contact.
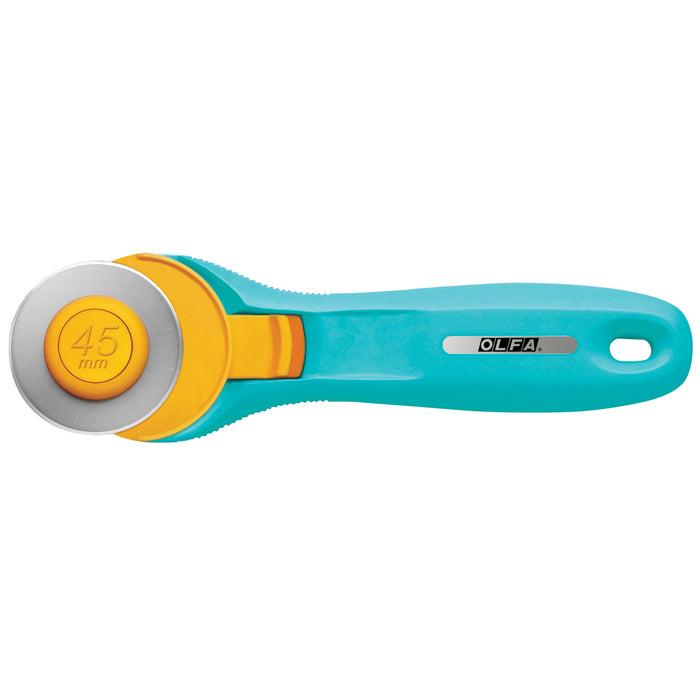
13. Rotary Cutter
A rotary cutter isn’t essential for everyone, but it’s an extremely useful tool for quilters and anyone regularly cutting straight fabric pieces. Its circular blade rolls across the material for quick, accurate cuts, especially useful for patchwork, quilting, cutting strips, cutting multiple layers at once, and repetitive shapes.
Blade size matters more than it might seem. An 18mm blade suits precision work like appliqué and tight curves. 28mm is a versatile middle ground for gentle curves and smaller projects. 45mm is the general-purpose size most sewists reach for, strips, trimming, squaring up, everyday piecing. 60mm is for heavy-duty cutting through thick or multiple layers.
Quality is mostly about the blade and the safety mechanism: a genuinely sharp, evenly ground blade cuts in one smooth pass rather than dragging or needing a second attempt, and a good retracting safety guard should snap shut reliably every time, not just most of the time. A comfortable, slightly weighted handle also makes a real difference over a long cutting session. Always use a rotary cutter with a suitable cutting mat, and store it safely with the blade guarded.
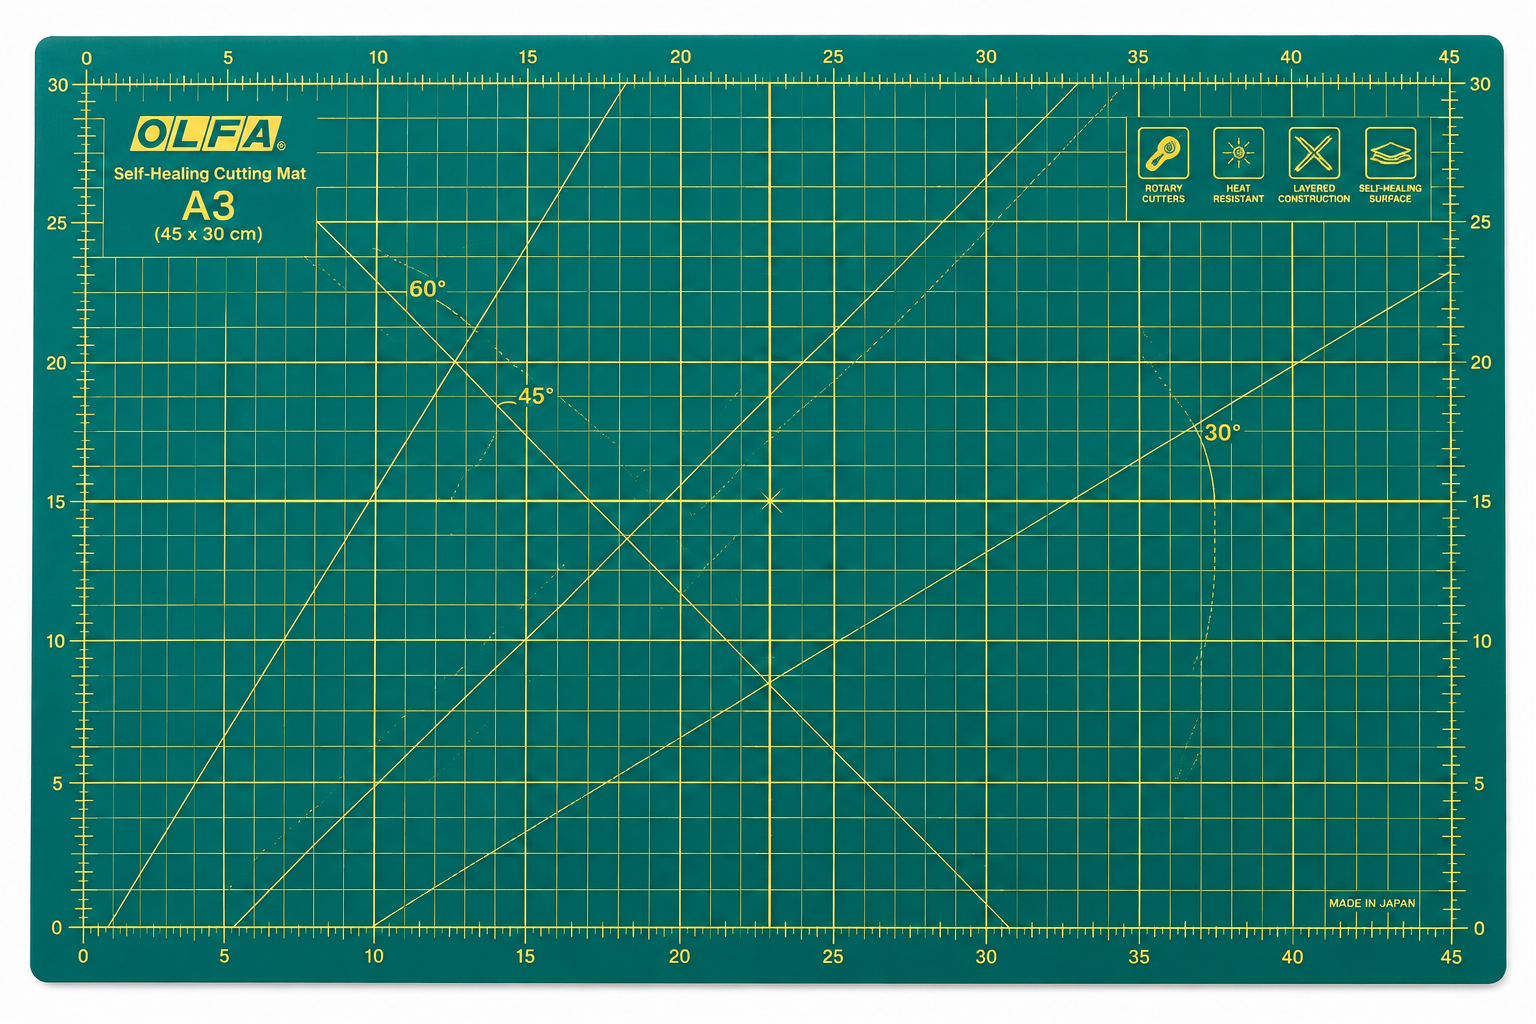
14. Self-Healing Cutting Mat
Using a rotary cutter means also needing a cutting mat. A self-healing mat protects the work surface while giving a smooth, consistent cutting surface. Many mats include printed measurement grids, particularly helpful when cutting quilting squares and strips.
Mats are usually sold by the same A-sizes as paper: A3 (44 x 30cm) is compact and suits small crafts and cards; A2 (60 x 45cm) is the middle ground most home sewists settle on, enough room to work without needing a dedicated table for it; A1 (84 x 60cm) suits large fabric cuts and pattern work, where the extra size means far less repositioning fabric mid-cut.
Quality comes down to two things: a genuine self-healing surface, which reseals after each cut rather than scarring permanently, and thickness, ideally 3-5mm, which protects the blade and stands up to years of repeated cutting rather than wearing through in a season. Buy the largest mat that comfortably fits the available workspace and budget.
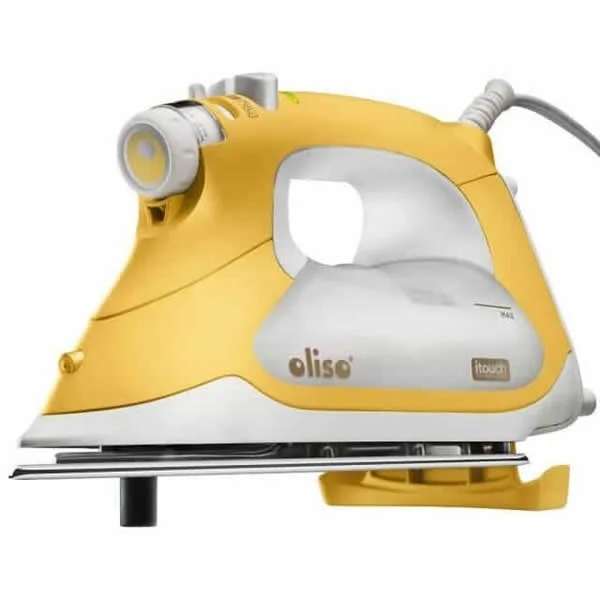
15. Iron
An iron might not immediately look like a sewing tool, but pressing is one of the real secrets to a professional-looking finish. Pressing seams while sewing flattens seam allowances, sets stitches, creates crisp hems, shapes garments, improves accuracy, and produces a noticeably better finish.
There’s an old sewing saying that good sewing is as much about pressing as stitching, and it holds up in practice.
An expensive specialist iron isn’t necessary, but a few features are worth looking for. A ceramic, stainless steel, or anodised aluminium soleplate glides smoothly over fabric and stays easy to clean, rather than dragging or picking up residue. Good steam output matters more than most other specs, and irons that heat water into steam before it reaches the soleplate avoid the spitting and water spots a basic model can leave on fabric. Auto-shutoff is a genuinely useful safety feature for anyone prone to getting distracted mid-project, and a bit of weight in the iron itself actually helps, it presses more evenly and is less likely to be knocked over than something too light. A reliable iron with good temperature control and steam suits most home sewing perfectly well.
16. Ironing Board or Pressing Mat
Somewhere suitable to press finished work matters just as much as the iron itself. A conventional ironing board suits most sewing perfectly well, and a sturdy one that doesn’t wobble under the iron’s weight is worth prioritising over a flimsy folding one.
Where space is limited, a wool pressing mat is a genuinely good alternative, typically around 17″ x 24″, small enough to sit directly on the sewing table and put away when finished. A 100% wool mat (rather than a synthetic blend, which can leave residue on the iron or discolour) absorbs and holds heat, pressing both sides of the seam at once and cutting pressing time noticeably. They’re best used with a dry iron rather than steam, since steam on wool can smell and, over a cutting mat or similar surface underneath, transfer enough heat to cause damage.
Smaller specialist pressing tools can be added later, if dressmaking or tailoring becomes a bigger interest.
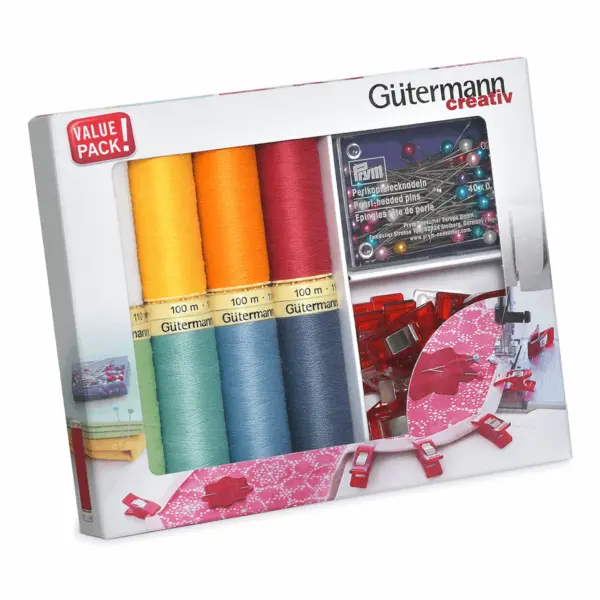
17. Good-Quality Thread
Thread isn’t technically a tool, but it earns a place on this list regardless. Poor-quality thread breaks frequently, produces excessive lint, creates inconsistent stitches, and causes tension problems that look like a machine fault but aren’t.
Thread weight is worth understanding before buying: the numbers work in reverse of what feels intuitive, the higher the number, the finer the thread. A 30-weight thread is thicker than a 50-weight thread. General sewing typically uses 50 or 60-weight, fine enough not to add bulk to seams, while heavier 30 or 40-weight thread is often chosen for quilting, where a more visible stitch is wanted. Hand-quilting thread is usually wax-coated and should never go through a machine, the wax can gum up the mechanism.
Fibre matters as much as weight. Polyester is the general-purpose choice for garments and everyday sewing, with a slight natural stretch that suits most fabrics and, in a good-quality thread, very little lint. Cotton thread suits quilting, patchwork, and natural fabrics particularly well, since it copes with a hot iron without distorting, though it produces more lint than polyester and has little give for stretch fabric. Rayon is really a decorative embroidery thread rather than a construction one, valued for its sheen rather than strength.
Quality shows up as tensile strength (it resists snapping under normal sewing tension), low lint, and smooth, even feeding through the machine. A cheap thread that looks fine on the spool can still shred or snap constantly once it’s actually being stitched.
There’s no need to buy every colour at once. Start with useful basics, black, white, cream, and a few neutrals, then build the collection as projects develop.
Guttermann 734568 Sew-All Thread Set
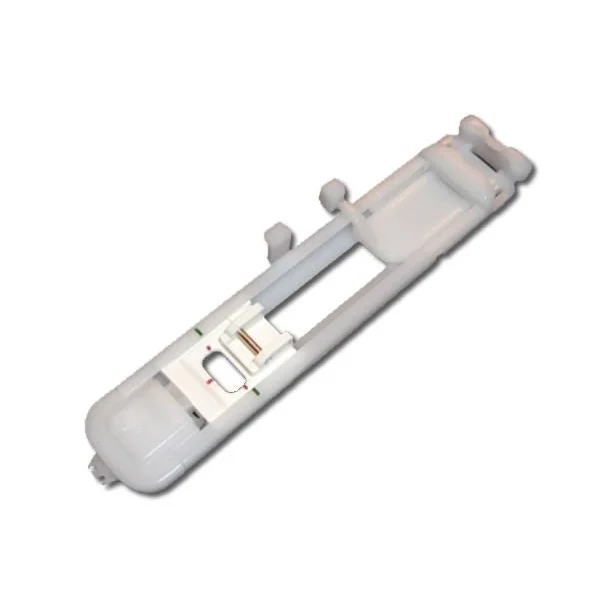
18. Presser Feet
Most sewing machines arrive with several presser feet, easy to leave forgotten in the accessory box.
A zipper foot has gaps either side to stitch close to zip teeth. A buttonhole foot handles manual or automatic buttonholes. A walking (even feed) foot feeds top and bottom fabric layers through together evenly, genuinely useful on stretch fabric and multiple layers that would otherwise shift. A blind hem foot creates a nearly invisible hem. An overcasting foot wraps thread around a raw edge to prevent fraying, similar in effect to an overlocker. A quarter-inch foot gives the accurate seam allowance patchwork and quilting depend on.
Feet need to match the machine’s own fitting system to work properly, low-shank, snap-on, and other fittings aren’t interchangeable, so it’s worth checking compatibility before buying any specialist foot rather than assuming a universal fit. A well-made foot holds its shape under the needle without flexing or rattling, and metal feet generally outlast plastic ones under regular use, though a good plastic foot is perfectly fine for occasional jobs.
Learning what each foot actually does can dramatically expand what’s achievable on an existing machine, often before any specialist feet need buying at all.
19. Fabric Clips
Fabric clips are a useful alternative to pins, particularly for thick fabrics, multiple layers, leather, vinyl, bags, and binding. Because they don’t pierce the material, they’re ideal wherever pin holes aren’t wanted.
They typically come in three sizes: small clips for tight curves and fiddly spots, a standard size for general use, and jumbo clips for thick projects like coats and quilts. Branded clips (Clover’s Wonder Clips are the best-known) often mould a seam guide into the flat base, marked at 1/4″ and 1/2″, genuinely useful for binding work. Budget generic clips do much the same clamping job for a fraction of the price, so it’s worth checking a few things on an unbranded pack before buying in bulk: the spring should grip firmly without feeling stiff to open, the two halves should meet squarely rather than off-centre, and the plastic shouldn’t feel brittle at the hinge.
Many sewists keep both clips and pins to hand and choose whichever suits the particular project.
20. A Storage Box or Sewing Organiser
Once a sewing collection starts growing, organisation becomes genuinely important. A sewing box, drawer unit, or craft organiser keeps needles, bobbins, presser feet, pins, thread, marking tools, scissors, and accessories all in one place.
A few styles suit different collections. A tackle-box-style organiser, with rows of small compartments, works well for the fiddly small items, needles, bobbins, clips, that otherwise end up loose in a drawer. A fabric sewing basket suits a more relaxed collection of thread, scissors, and in-progress projects. A rolling craft cart or drawer unit makes sense once the collection’s outgrown a single box, keeping everything in one place but still easy to move between rooms.
Whatever the style, a sturdy latch or lid, a handle that won’t snap under weight, and a clear or labelled front for quickly spotting what’s needed all make daily use noticeably easier. Good organisation doesn’t just make a sewing space look better, it means spending less time searching for the right tool and more time actually sewing.
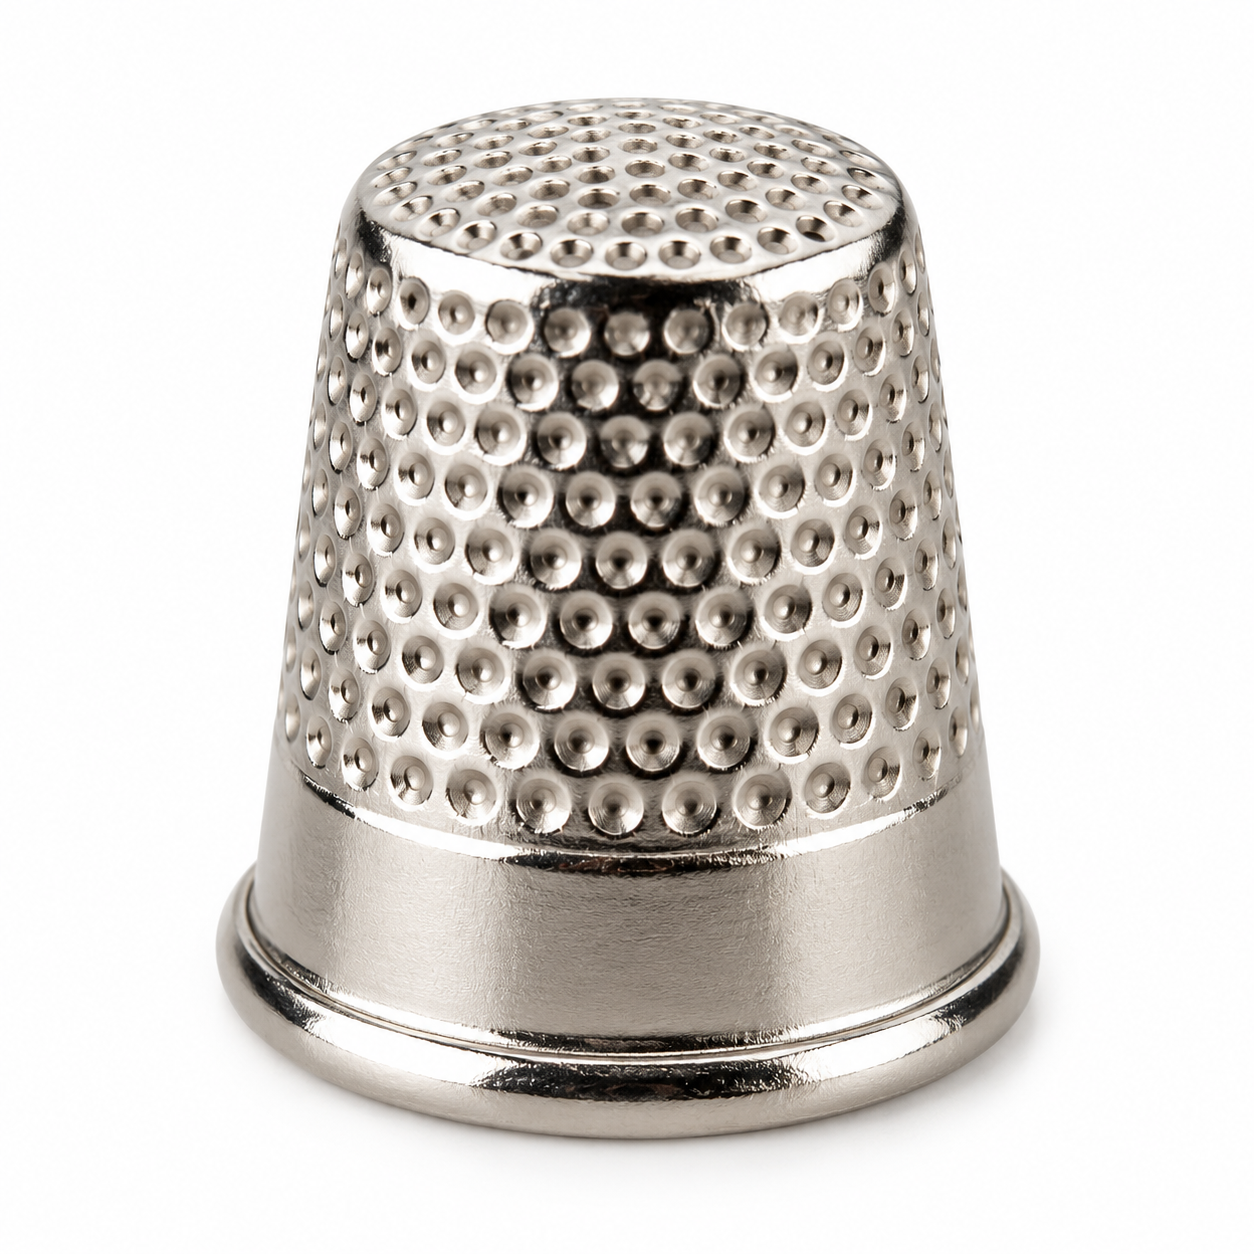
21. Thimble
Pushing a needle through fabric by hand, especially several layers or a firmer weave, quickly gets uncomfortable without something to protect the finger doing the pushing. A thimble takes that pressure instead of a fingertip.
Thimbles are sized, usually numbered from around 5 to 13, based on finger circumference, so it’s worth measuring rather than guessing, a loose thimble falls off mid-stitch and a tight one is just as unwilling to work with. Metal thimbles, typically brass or nickel-plated, come in open-sided, closed-top, or open-top styles and give the firmest protection for regular hand sewing. Rubber thimbles, with scalloped sides for grip, are a softer, more flexible option many beginners find easier to get used to. Leather thimbles, whether finger-moulded, seamless, or on an adjustable ring, sit closer to the skin and suit lighter hand-sewing and quilting work.
The right fit is the main quality marker here rather than any particular material: a thimble should sit securely enough not to slip off, but never so tight that it presses uncomfortably or restricts circulation. It’s a small, inexpensive tool, but a well-fitted one makes a genuine difference on any hand-sewing project that takes more than a few minutes.
22. Needle Threader
Threading a needle sounds simple until faced with a fine machine needle and ageing eyesight, or a hand needle with an eye barely bigger than the thread itself. A needle threader makes the job quick and frustration-free.
There are three main types. A manual threader, pushed through the needle’s eye by hand to grab the thread and pull it back through, is the simplest and works with both hand and machine needles. Many sewing machines also include an automatic built-in threader, worked with a small lever that guides the thread through the needle eye directly at the machine, useful for anyone threading up frequently through a project. Electronic threaders, battery-powered and triggered with a push button, are a standalone option some sewists prefer for hand needles particularly.
Whichever type is used, the main things worth checking are reliability (it should work consistently rather than only sometimes), how easy it is to use without fiddling, and that it actually suits the needle sizes it’ll be used with, a threader built for a coarse hand needle won’t necessarily manage a fine machine needle just as well.
23. Pinking Shears
Pinking shears cut a zigzag edge instead of a straight one, which does a genuinely useful job: it reduces fraying on raw seam edges without needing an overlocker, and it’s also handy for a quick, professional-looking edge on non-fraying craft fabrics like felt.
A 9″ length is the most commonly reached-for size, long enough to cut a seam edge in reasonably few passes without becoming unwieldy in the hand. The zigzag teeth themselves are usually spaced around 5mm apart, tight enough to genuinely limit fraying rather than just decorate the edge.
Not all pinking shears are made equally, and it shows quickly with use. Full stainless steel, ideally a good grade like 420, holds its edge far longer than a cheaper plated blade. Look for sharp, evenly aligned teeth that meet cleanly along the whole blade, since a single misaligned tooth leaves a snag rather than a clean zigzag, and an ergonomic handle with a reinforced pivot copes far better with the repeated squeezing action pinking shears need than a standard scissor grip does. We didn’t find a dedicated pair of pinking shears in GUR’s current range, so there’s no product-specific image source for this one, a general craft or haberdashery supplier is worth checking instead.
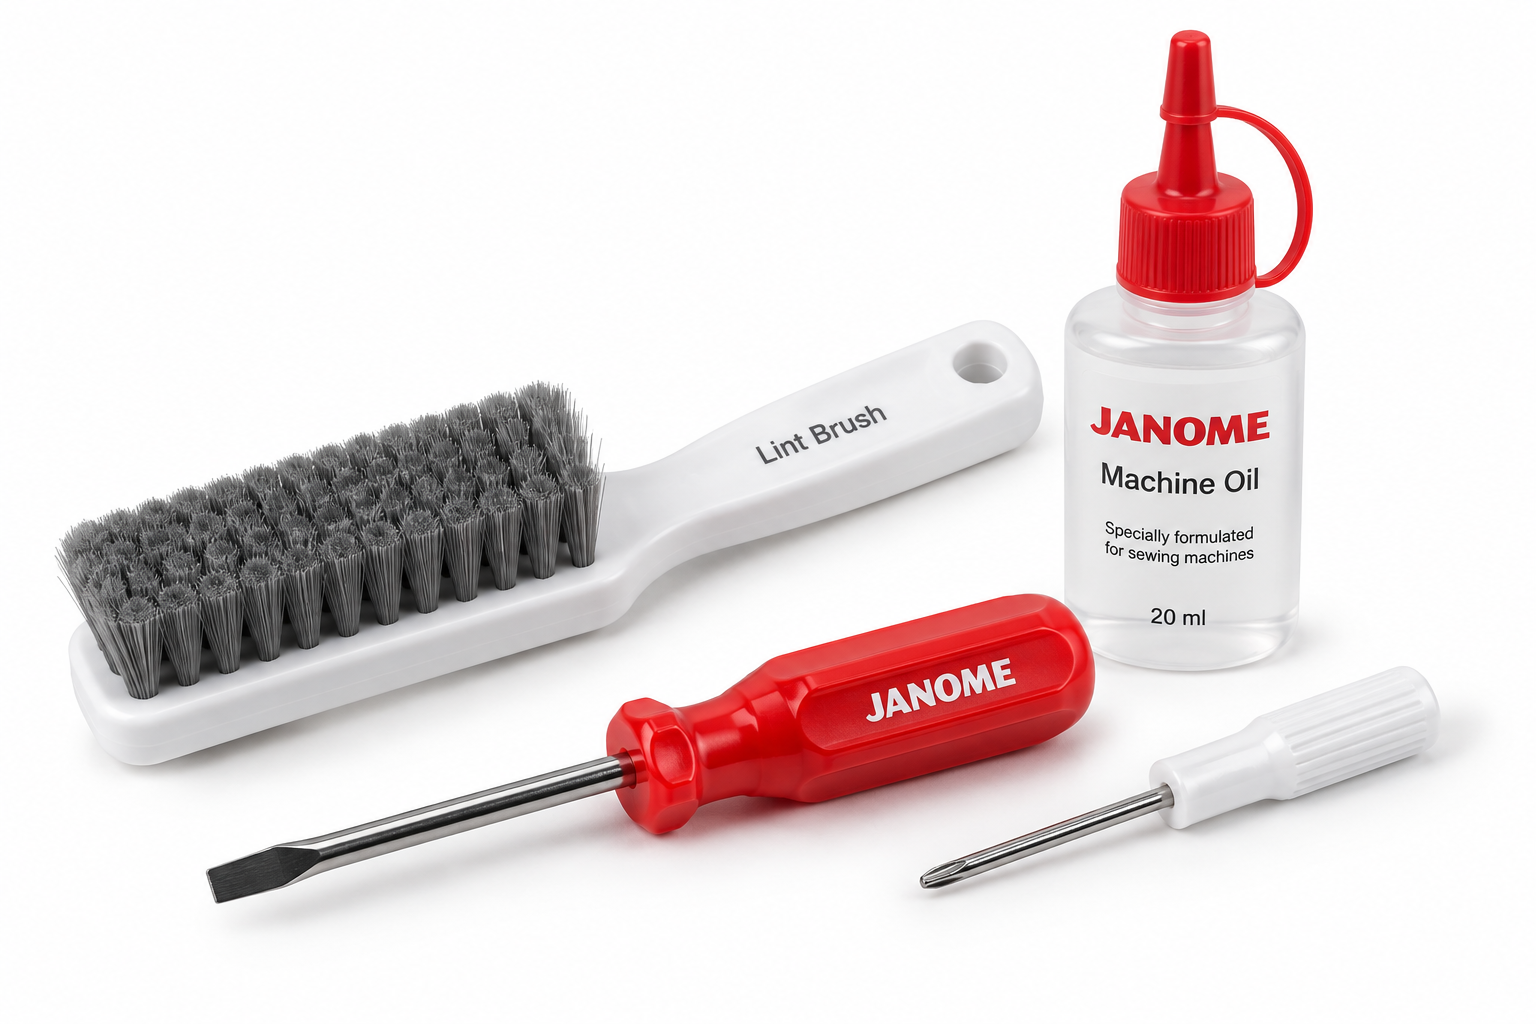
24. Basic Machine Maintenance Kit
A sewing machine that’s cleaned and maintained runs more smoothly, sews more accurately, and lasts considerably longer, and the tools needed for basic upkeep are inexpensive and simple to use.
A soft lint brush (often supplied with the machine) clears out thread fluff and dust from around the bobbin case and feed dogs, somewhere lint builds up constantly and, left unchecked, causes tension problems and noise. A small screwdriver, usually supplied with the machine, is needed for removing the needle plate to get at that area properly. Machine oil has its place too, but only where the manual specifically says to use it, plenty of modern domestic machines are largely self-lubricating and shouldn’t be oiled beyond the points the manufacturer names, over-oiling can attract more lint and even stain fabric on the next project. A soft, dry cloth for wiping down the casing rounds out the basics.
Quality here matters less than habit: a lint brush and a few minutes after finishing a project, plus an occasional check of the manual for what maintenance it actually recommends, does more for a machine’s long-term reliability than any specific product choice.
Essential Sewing Tools for Beginners
Starting out doesn’t mean buying all 24 items immediately. We’d begin with:
- Fabric scissors
- Small thread scissors
- Tape measure
- Pins
- Pincushion
- Seam ripper
- Hand sewing needles
- Spare sewing machine needles
- Spare bobbins
- Fabric marker
- Iron
- Good-quality thread
- Thimble
- Needle threader
That covers everything needed for a huge variety of beginner projects. Add more specialist tools once the types of sewing genuinely enjoyed become clear.
Essential Tools for Dressmaking
If dressmaking becomes the main interest, we’d add:
- Dressmaking scissors
- Flexible tape measure
- Tailor’s chalk
- Sewing gauge
- Glass-head pins
- Fabric clips
- Seam ripper
- Good iron
- Presser feet
- Pattern ruler
More experienced dressmakers often add specialist pressing equipment and pattern-making tools from here.
Essential Tools for Quilting
Quilters have slightly different needs. Some of the most useful quilting tools include:
- Rotary cutter
- Large self-healing cutting mat
- Quilting ruler
- Quarter-inch presser foot
- Quilting needles
- Fabric clips
- Seam ripper
- Iron
- Walking foot
- Pinking shears
Accurate cutting matters more in patchwork than almost any other kind of sewing, making a rotary cutter, ruler, and cutting mat an excellent investment from the start.
Do You Need Expensive Sewing Tools?
Not necessarily. Plenty of affordable sewing tools perform perfectly well. That said, certain items are worth spending a little more on: fabric scissors, rotary cutters, rulers, sewing machine needles, and thread.
Good tools don’t make anyone a better sewist overnight, but they make accurate sewing considerably easier, and cheap versions of these particular items tend to show their limitations quickly.
Sewing Tools You Can Buy Later
It’s easy to get carried away buying accessories when starting out. Plenty of useful specialist tools exist, but most aren’t needed immediately:
- Tailor’s ham
- Sleeve board
- Loop turner
- Bias tape maker
- Point turner
- Bodkin
- Pattern weights
- Specialty rulers
- Specialist presser feet
- Electric fabric cutters
Wait until a project actually calls for them. That way, a sewing kit builds around the type of sewing genuinely enjoyed, rather than filling drawers with tools that never get used.
Essential Sewing Kit Checklist
Before starting the next project, check for:
- Fabric scissors
- Thread scissors
- Tape measure
- Pins
- Pincushion or magnetic holder
- Seam ripper
- Hand sewing needles
- Sewing machine needles
- Spare bobbins
- Fabric marker or tailor’s chalk
- Ruler
- Good-quality thread
- Iron
- Appropriate presser feet
- Thimble
- Needle threader
- Basic machine maintenance kit (lint brush, screwdriver, machine oil)
For quilting, consider adding:
- Rotary cutter
- Cutting mat
- Quilting ruler
- Quarter-inch foot
- Walking foot
Frequently Asked Questions
What sewing tools does a beginner really need?
Good fabric scissors, a tape measure, pins, a seam ripper, hand and machine needles, spare bobbins, fabric markers, thread, and an iron. Specialist equipment can be added as skills develop.
What’s the most important sewing tool?
Apart from the sewing machine itself, a good pair of fabric scissors sits near the top of the list. Accurate cutting makes everything that follows considerably easier.
Do I need a rotary cutter?
Not necessarily. Dressmaking scissors are perfectly adequate for many projects. Rotary cutters come into their own for quilting and repetitive straight cuts.
Do I need special sewing scissors?
Yes, dedicated fabric scissors are worth having. Keeping them exclusively for fabric is what keeps the blades sharp.
Are fabric clips better than pins?
Neither is better outright. Pins work brilliantly for most fabrics, while clips suit thick materials and fabrics where a pin hole isn’t wanted.
Do beginners need lots of presser feet?
No. Learning the standard feet supplied with the machine first is the better starting point. Specialist feet can be bought as projects become more advanced.
Final Thoughts
Building a sewing kit should happen gradually. A cupboard full of expensive accessories isn’t needed before creating genuinely good projects.
Begin with the essentials: good scissors, accurate measuring tools, pins, needles, quality thread, a seam ripper, and an iron. Those simple tools go surprisingly far on their own.
As it becomes clearer whether dressmaking, quilting, embroidery, crafts, or home furnishings is the bigger draw, specialist equipment can be added that genuinely makes the sewing easier, rather than just filling a drawer.
Buy good-quality tools where it matters, look after them properly, and they’ll often serve for many years. Most importantly, there’s no need to wait until every possible sewing gadget has been collected before starting that first project.