






For most washable dressmaking fabric, yes. Cotton commonly loses four to six per cent on its first wash, and natural fibres can lose ten. On a fitted garment that is the difference between wearing it and not.
01. Why it matters
02. How much fabric actually shrinks
– Shrinkage reference table
03. Which fabrics to pre-wash
04. Fabric by fabric
05. What not to wash
06. Wash it the way you will wash the garment
07. Finish the edges first
08. Buy extra to allow for it
09. Colour bleeding
10. Test a swatch
11. Dry, press, square up
12. The order of work
13. Frequently asked questions
14. When to skip it
You have found the fabric, you have the pattern, and the scissors are out. Stopping to put the fabric through the washing machine feels like a delay you did not plan for, and it is the step most often skipped.
It is worth the delay in most cases, and pointless in a few. What follows sets out which fabrics need it, what the numbers actually are, how to do it without wrecking the cut edges, and when to leave the fabric alone.
Wash the fabric the way you intend to wash the finished garment. Everything else follows from that.
01. Why it matters
Fabric shrinks. Spend a weekend fitting a dress, wear it, wash it once, and find it has tightened across the bust and risen at the hem, that is the whole argument for pre-washing in one sentence.
Pre-washing lets the shrinkage happen before you measure, cut and sew, so the pieces on your table are already close to the size they will stay. It also rinses out the dressing, sizing and finishing residues left from manufacture, which is why fabric straight off the roll can feel crisper than the same cloth after a wash.
There is a third benefit that only shows up later: you find out how the fabric behaves in water before it is a garment. Whether it softens, relaxes, creases, twists or bleeds.
02. How much fabric actually shrinks
There is no single figure, but there are useful ranges. Cotton commonly loses around four to six per cent on the first wash, and up to ten per cent is not unusual in natural fibres generally. Untreated linen sits somewhere between three and ten per cent depending on weave and finish.
Two details matter more than the headline number. First, fabric usually shrinks more in length than in width — around three per cent against two on linen — so hems and rises move more than side seams. Second, most of the movement happens in that first wash and dry cycle; after it, the cloth is comparatively stable.
• Fibre – cotton, linen and wool move; polyester barely does, which is why blends shrink less
• Finish – sanforised and pre-shrunk cottons have had most of it taken out already
• Temperature – hot water and high dryer heat are where the real losses happen
• Construction – loose weaves and knits move more than dense, stable ones
Check whether the fabric was sold pre-washed or pre-shrunk before you assume anything. A good retailer will say, and it changes the answer.
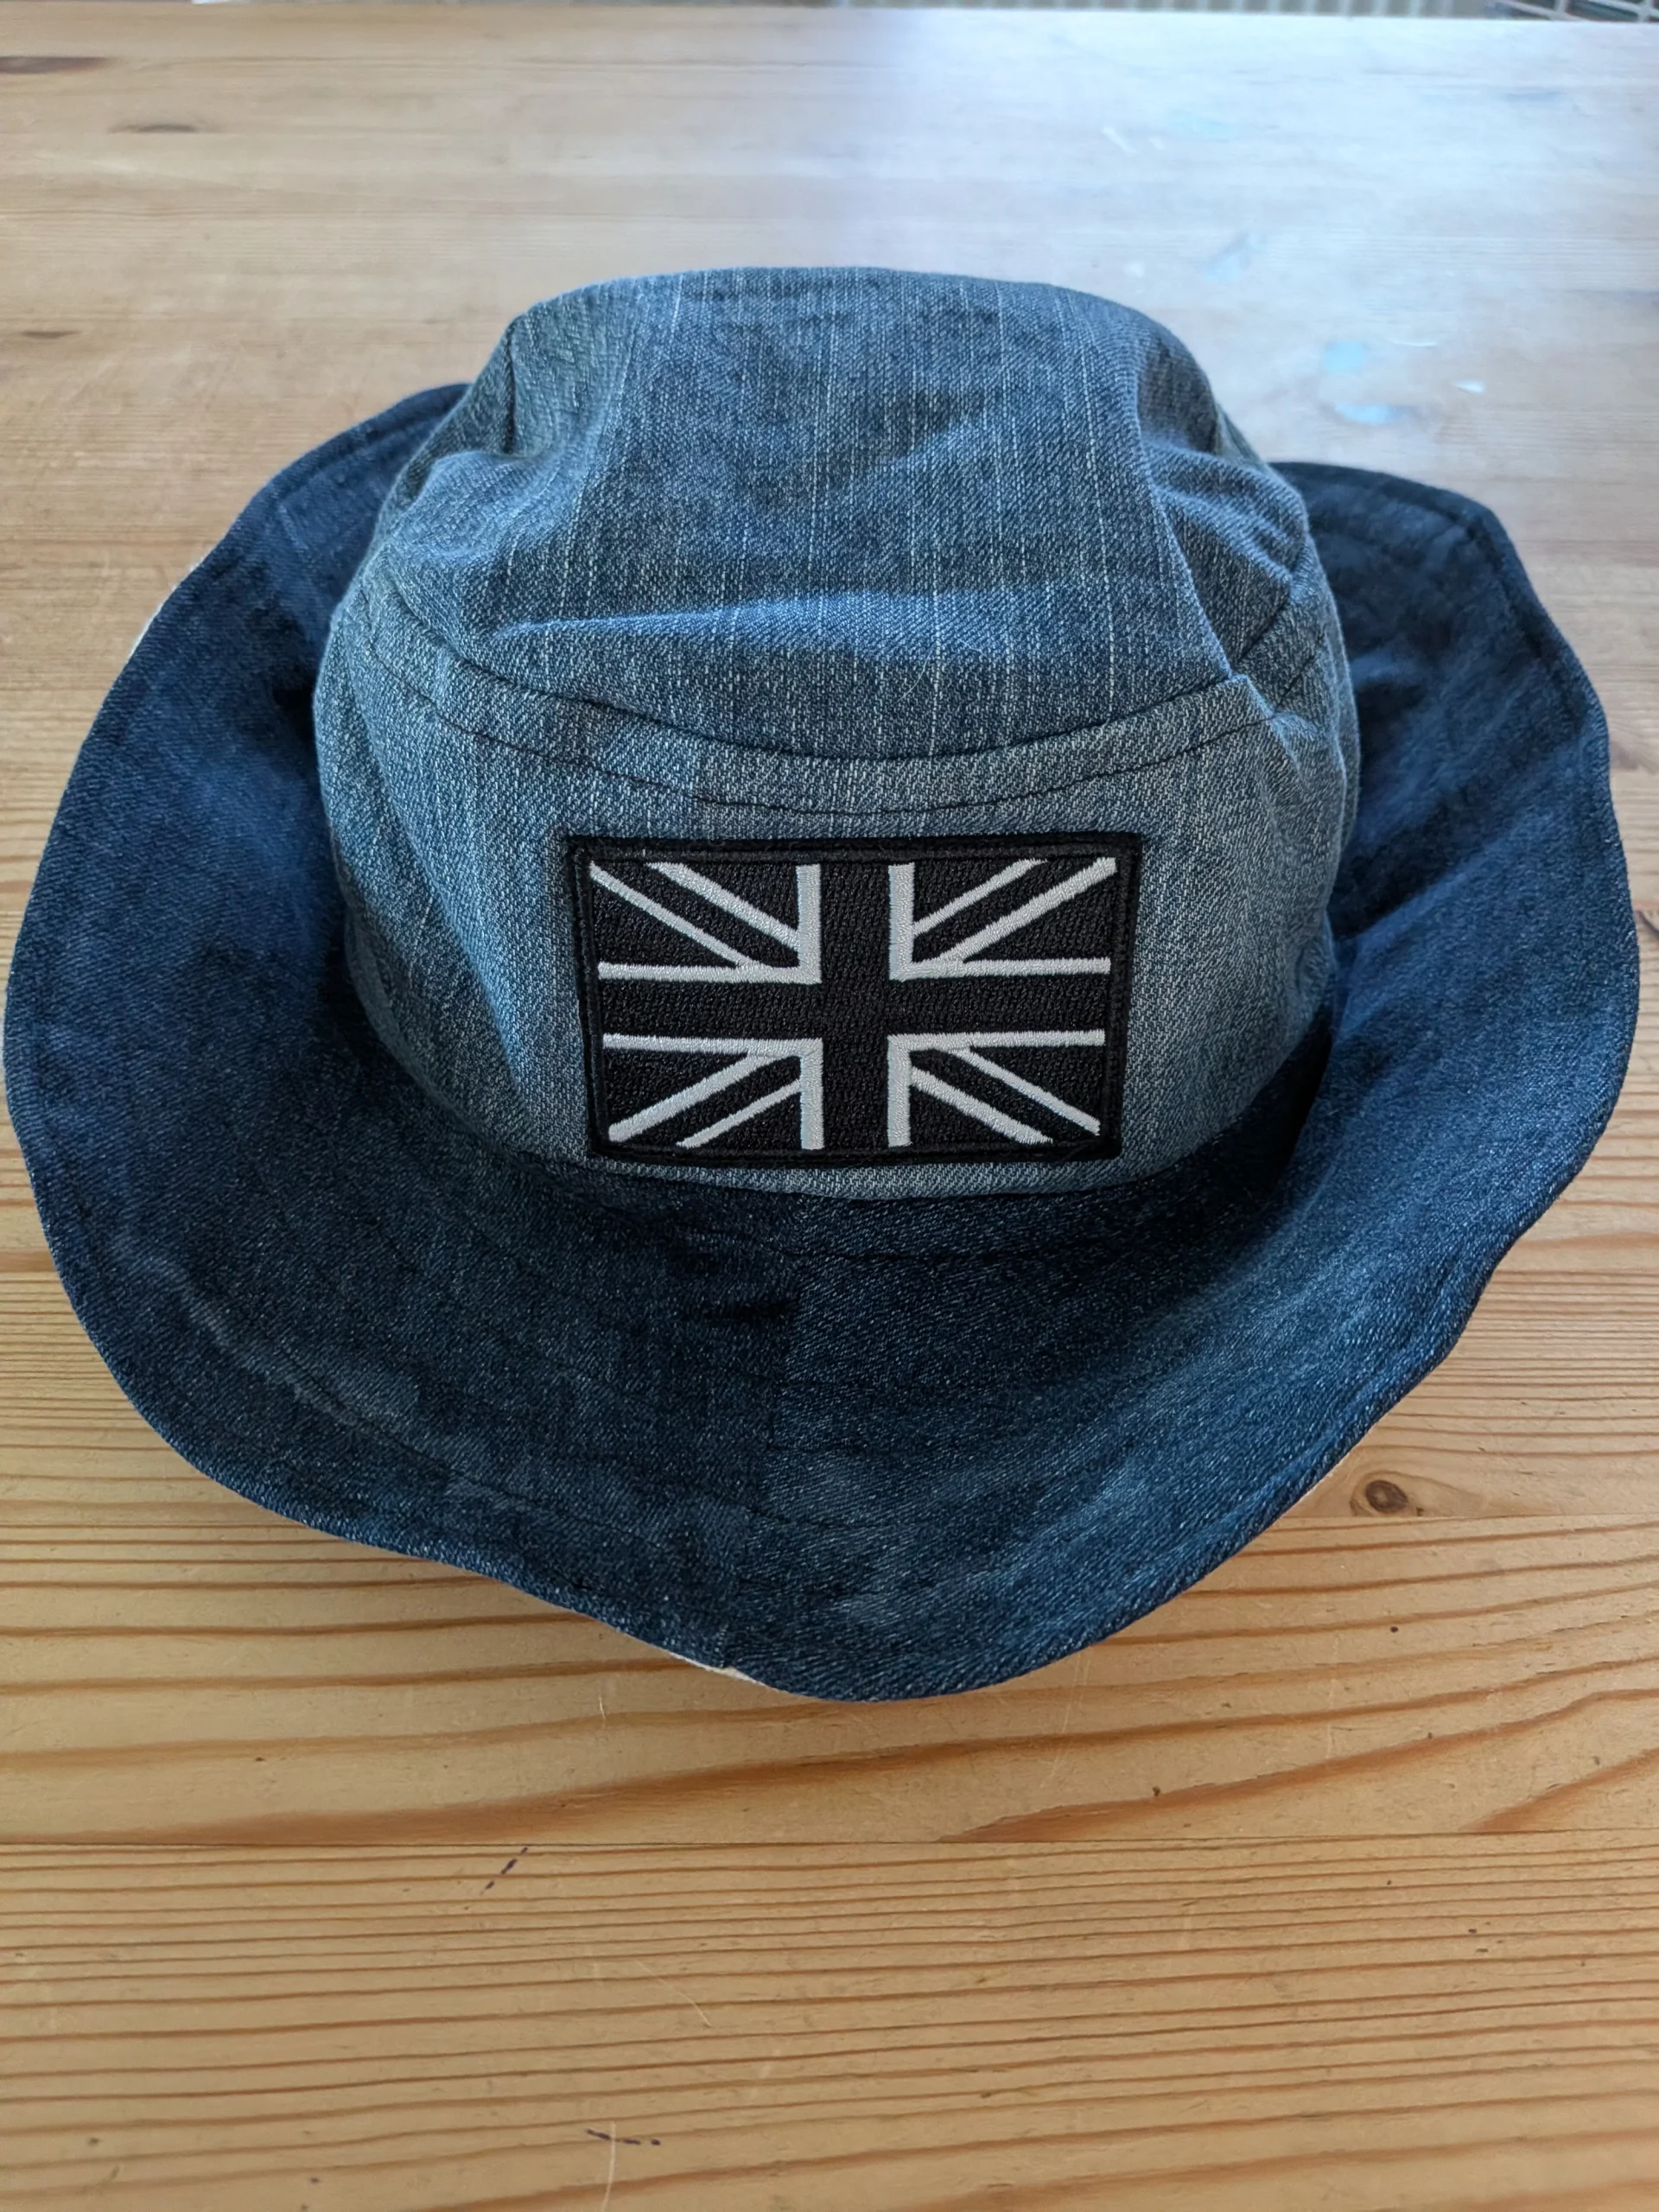
Bucket hat by Simon Bonser, cut from old jeans with a lining made from old curtains, on a Necchi Q132A. Fabric that has already been washed a hundred times has no shrinkage left to give.
Typical first-wash shrinkage
Ranges rather than promises — weave, finish, temperature and drying method all move the number. Treat them as what to allow for, not what to expect exactly.
Fabric · Shrinkage · Notes
Cotton, woven · 4 – 6% · More in length than width
Quilting cotton · 3 – 5% · Or leave unwashed for the crinkled finish
Sanforised / pre-shrunk cotton · 1 – 2% · Most of it already taken out
Linen, untreated · 3 – 10% · Frays badly on the first wash
Linen, pre-washed · 1 – 3% · Softer and far more stable
Denim · 3 – 5% · Plus heavy dye loss early on
Cotton jersey and knits · 5 – 8% · Let it relax flat before cutting
Viscose and rayon · 5 – 10% · Wash gently; it weakens when wet
Polycotton and blends · 1 – 3% · The polyester resists shrinking
Polyester · 0 – 2% · Effectively stable
Wool, washable · Varies widely · Steam press rather than wash
On a fitted garment, five per cent of a three-metre length is fifteen centimetres. That is why buying a little extra matters as much as the wash itself.
03. Which fabrics to pre-wash
The rule is straightforward: if the finished item will be washed regularly, pre-wash the fabric. That covers most dressmaking, children’s clothes, bedding, towelling and washable home furnishings.
• Cotton, poplin, lawn and quilting cotton
• Linen and linen blends
• Denim, drill and twill
• Flannel and brushed cotton
• Jersey, interlock and sweatshirting
• Viscose and rayon, with care
• Polycotton and cotton blends
• Towelling and waffle
• Washable wool and wool blends
The method should follow the individual fabric rather than the list. Always read the care instructions on the bolt end or the roll label first.
04. Fabric by fabric
Cotton. Usually yes. It is the most common dressmaking and quilting fabric and it shrinks. Wash it the way you intend to wash the garment — the same temperature, the same drying method.
Linen. Yes, if the finished item is washable. Linen both shrinks and changes character, becoming softer and more relaxed, and many people prefer it that way. Loose linen weaves fray badly on that first wash, so finish the raw ends first.
Denim. Yes for garments. It shrinks and it releases a lot of dye early on, so wash it on its own, particularly in dark indigo. Finish the cut ends before it goes in or you will be untangling threads afterwards.
Jersey and knits. Yes for clothing. Wash and dry, then let the fabric lie flat and relax before cutting. Never handle it stretched, and never hang it wet — the weight of the water distorts it.
Quilting cotton. This one genuinely divides quilters. Pre-washing removes shrinkage, rinses out excess dye and reveals bleeding before it can ruin a finished quilt. Leaving it unwashed gives you the slightly crinkled, antique look that appears when quilt and batting shrink together in their first wash. Either is a legitimate choice, but be consistent within one quilt — mixing washed and unwashed fabrics in the same top is how you get distortion.
Bag fabrics. It depends on the bag. A washable cotton tote, yes. Structured materials, coated canvas, vinyl, leather or anything heavily interfaced, no, the finished bag will never see a washing machine, so nothing is gained.
05. What not to wash
Plenty of fabric should not go near a machine. Some needs hand washing, some needs dry cleaning, and some should not be wetted at all.
• Silks and fine silk blends
• Wools, worsteds and tailoring cloth
• Velvet, velour and pile fabrics
• Sequinned, beaded and embellished fabrics
• Water-resistant and specialist coatings
• Structured and interlined materials
• Anything sold as dry clean only
The logic is the same as before, just inverted: prepare the fabric the way the finished garment will be cared for. If a coat will only ever be dry cleaned, a domestic wash cycle is not preparation, it is damage. For tailoring wool, the traditional approach is a steam press, a London shrink, rather than water.
Special finishes deserve particular care. A water-resistant coating, a crisp finish or a decorative surface treatment may be exactly why you bought the fabric, and a wash can take it straight out.
06. Wash it the way you will wash the garment
This is the single most useful rule in fabric preparation, and it answers most of the questions people ask around it.
If the finished item will be washed at 30°C, pre-wash at 30°C. If it will go through the tumble dryer, and the care instructions allow it, tumble dry the fabric too, heat, not water, does most of the shrinking. If you intend to hand wash the garment, hand wash the fabric.
One practical point about machines. The fabric needs room to move and to submerge fully to shrink evenly, and many modern machines choose their own water level, which can leave several metres of cloth barely wet. If yours does that, dry the fabric and put it through a second gentle cycle rather than assuming one wash did the job.
Go easy on fabric softener. Some leave a coating that interferes with fusible interfacing and with marking. A plain wash is the safer default.
07. Finish the edges first
Put several metres of loosely woven fabric into a machine with raw cut ends and you will pull out a tangle of threads and a shorter piece of fabric than you put in. Linen is the worst offender, and it frays most on that very first wash.
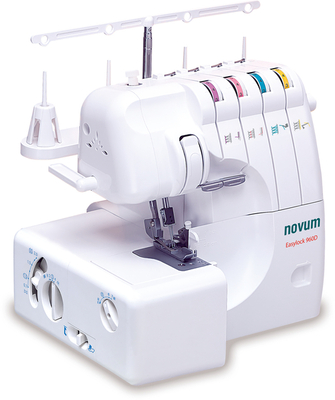
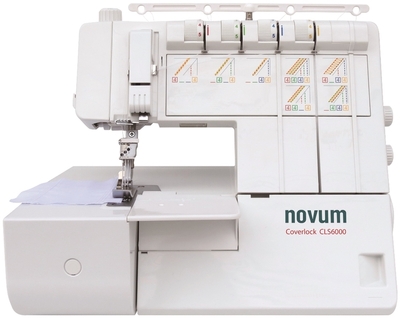
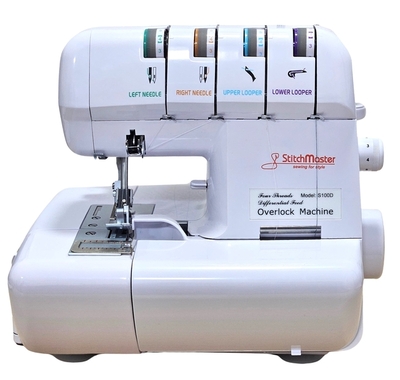
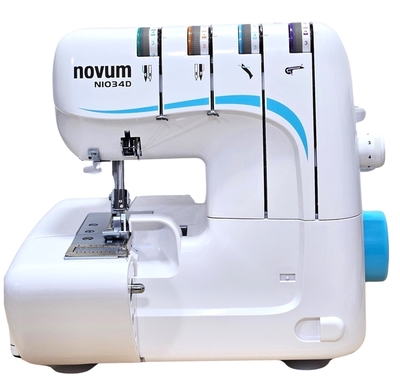
Finish the cut ends before washing. An overlocker is quickest — run the raw ends through, wash, then trim the overlocked strip off before laying out your pattern. A zigzag or overcasting stitch does the same job, and pinking shears are adequate on tightly woven cloth.
You do not need to touch the selvedges. They are already finished. It is only the cut ends that fray.
08. Buy extra to allow for it
This is the step most guides leave out. If the fabric is going to lose five per cent, the pattern layout you planned in the shop no longer fits the piece you have after washing.
On anything prone to shrinkage, buy around ten per cent more than the pattern calls for. On a three-metre length that is an extra thirty centimetres, which costs little and is the difference between cutting the garment and being one sleeve short.
It matters most where the pattern pieces are long: trousers, maxi dresses, curtains, anything cut on the fold at full length.
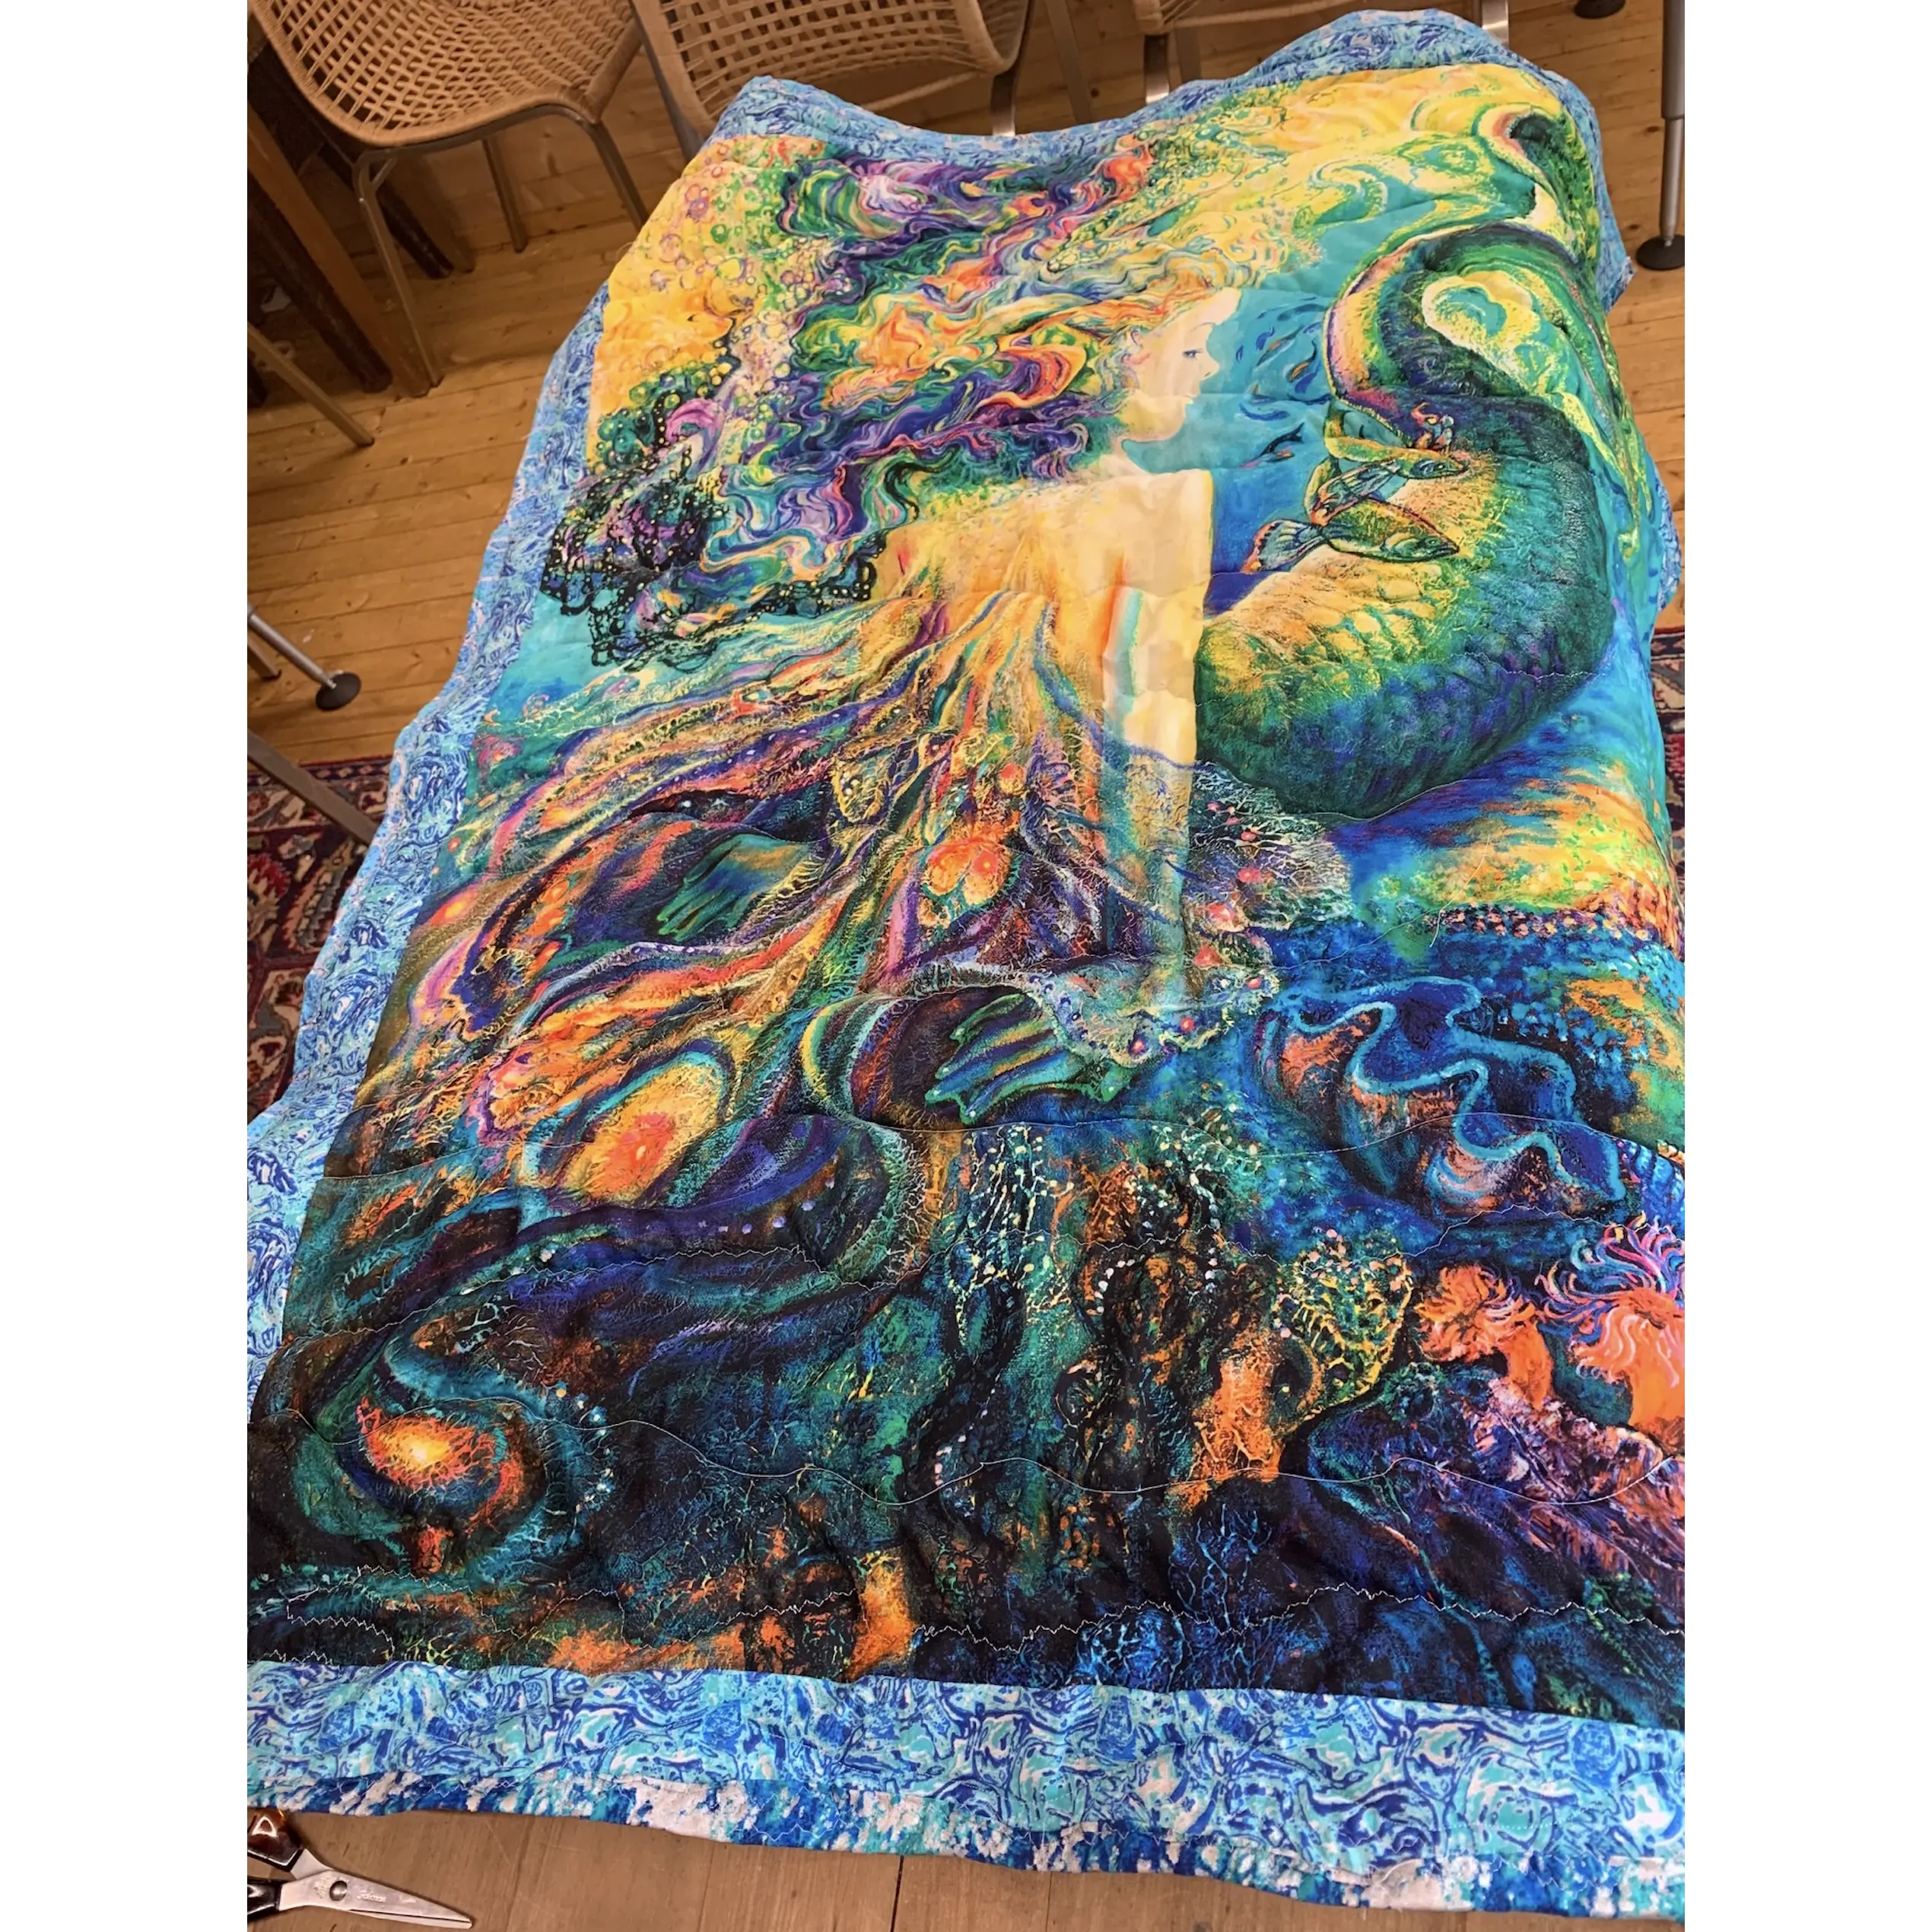
Kim’s first two quilt projects, made on a Novum Pro Q9 long arm. In a quilt top, mixing pre-washed and unwashed fabrics is the thing to avoid — pick one and stay with it.
09. Colour bleeding
Shrinkage is not the only reason to pre-wash. Strongly dyed fabric releases excess dye for several washes, and you would much rather discover that in a sink than in a finished quilt.
• Dark indigo denim
• Deep reds and burgundies
• Navy and strong blues
• Saturated brights
• Heavily dyed natural fibres, particularly hand-dyed cottons
Wash suspect fabric separately, or use a colour catcher sheet, which picks up loose dye in the drum before it reaches anything else. To test, wet a corner and press it against a scrap of white cotton — if the white takes colour, wash the piece on its own until it stops.
This matters most when you are combining light and dark fabrics in one project. A white sashing strip beside an unwashed deep red is a risk that only reveals itself after the first wash.
10. Test a swatch
When the fabric is expensive, unusual, or you simply cannot tell what it will do, test an offcut rather than the whole length.
01. Cut a piece and mark it – 25cm square is easy to work with
02. Measure it accurately in both directions and write the numbers down
03. Wash and dry it exactly as you intend to treat the garment
04. Press it, then measure again
05. Compare the two, lengthwise and widthwise separately
The result tells you the shrinkage percentage, whether the colour shifted, whether the texture changed and whether the piece came out distorted. Ten minutes of work before committing a length of silk noil.
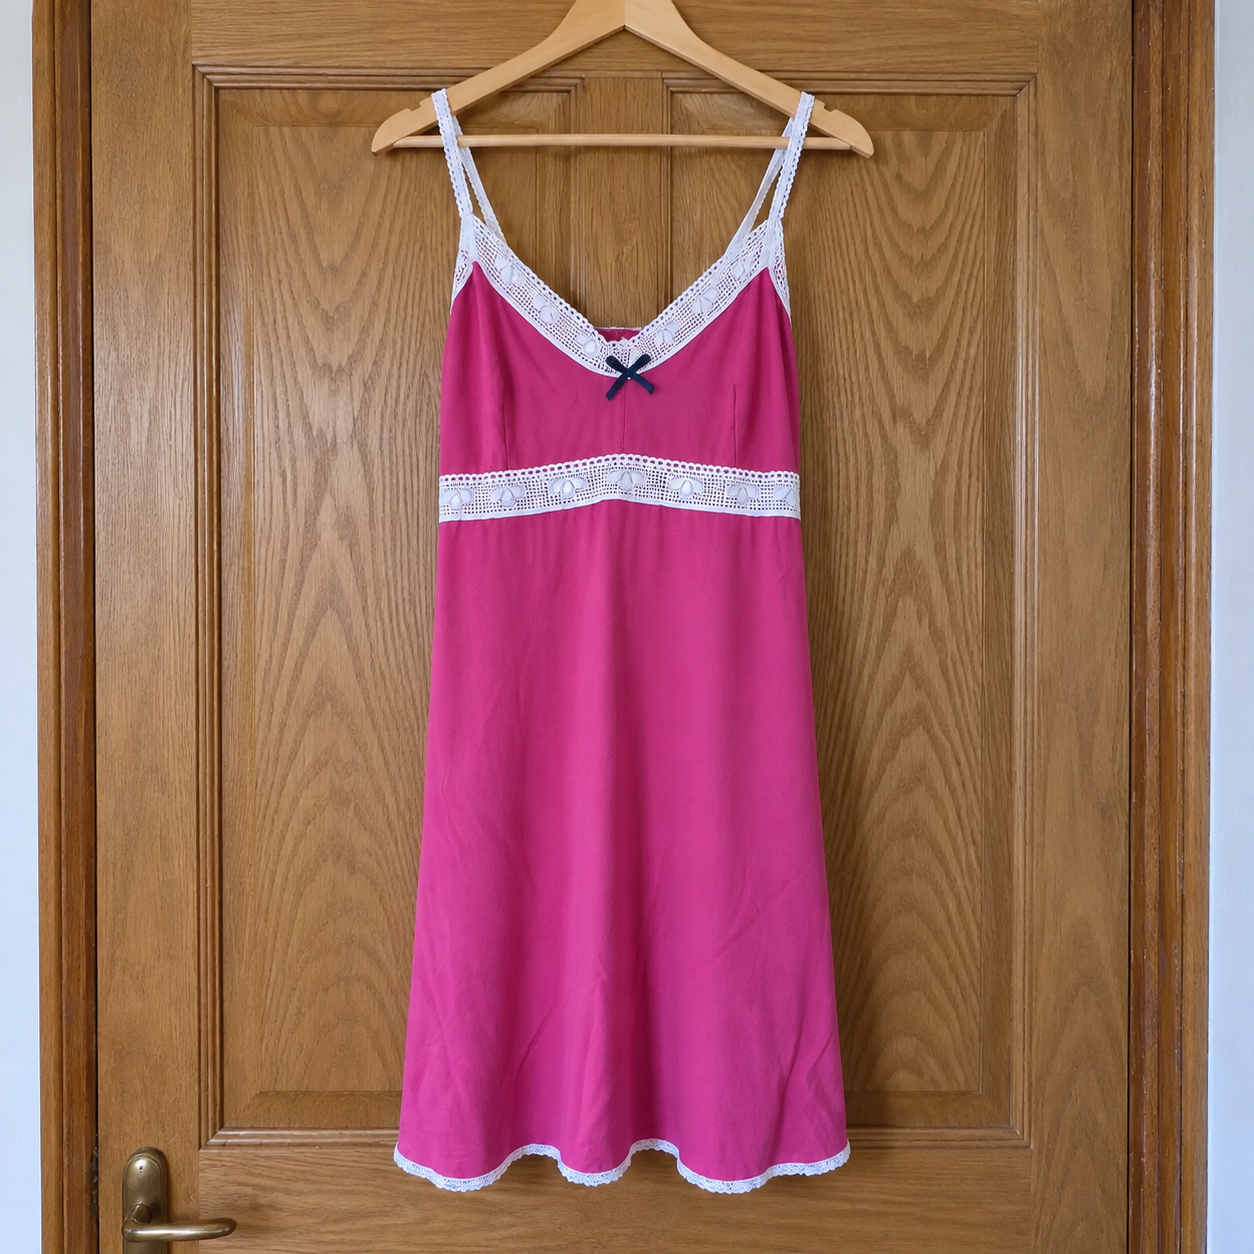
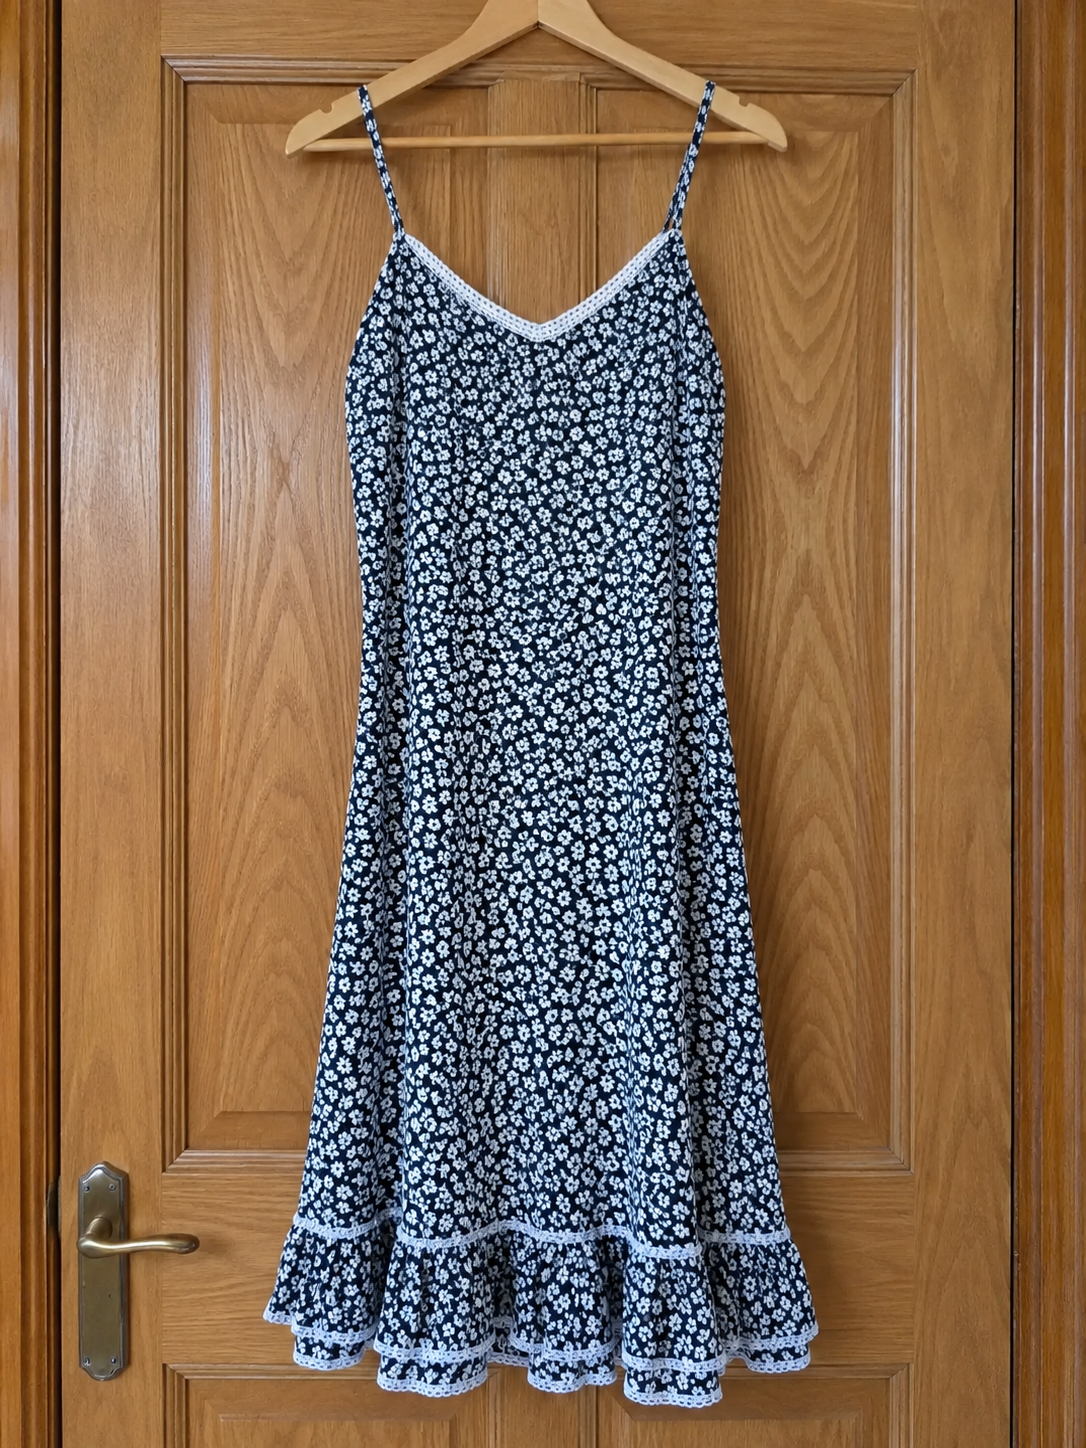
Summer dress and nightwear by Sandra Steadman, her first garments on a Brother 3034DWT overlocker. Jersey needs washing, drying and then leaving flat to relax before it is cut.
11. Dry, press, square up
Fabric out of a wash is creased, and frequently pulled off-square. Laying a pattern over that and cutting is how pieces end up subtly the wrong shape.
Press it flat first, at the right temperature for the fibre, until the cloth is smooth and relaxed. If you press a lot, this is where an ironing press earns its keep on wide lengths — we have written about that separately.
Then check the grain. Fold the fabric selvedge to selvedge: if the cut ends do not lie square, the grain has been pulled askew in the wash. Take opposite corners and pull gently on the bias to bring it back true, and press again. On knits, lay the piece flat and let it settle rather than pulling it into shape.
Give it time. Fabric that has just been dried is still relaxing, and cutting it straight off the line is asking for movement later.
12. The order of work
Pre-washing only works before cutting. Putting cut pattern pieces through a wash means each one shrinks and frays independently, which is worse than not washing at all.
01. Buy the fabric, with extra allowed for shrinkage
02. Read the care instructions on the roll
03. Finish the cut ends, by overlocker or zigzag
04. Pre-wash, at the temperature the garment will see
05. Dry, the way the garment will be dried
06. Press flat
07. Square up the grain, and let the fabric settle
08. Lay out the pattern
09. Cut
10. Sew
Interfacing is the one exception worth flagging: check the manufacturer’s instructions rather than treating it like fabric. Some woven interfacings are pre-shrunk, and a fusible put through a wash may never bond properly afterwards.
How much does cotton shrink?
Commonly four to six per cent on the first wash, and up to ten per cent is not unusual across natural fibres. Sanforised or pre-shrunk cotton will move considerably less, so check whether the fabric was sold pre-treated.
Do I need to wash fabric more than once?
One pre-wash is normally enough, because most of the movement happens in the first wash and dry cycle. Wash twice if the fabric is known for heavy shrinkage, if accurate sizing really matters, or if your machine did not fully submerge the cloth first time.
What if I forgot to pre-wash?
Nothing is automatically ruined. Follow the fabric’s care instructions carefully when you wash the finished item, and wash it cool. If the fabric does shrink you may see it in the fit, the length, the seam appearance and the lining, which can end up longer than the shell.
Can I steam fabric instead of washing it?
For fabrics that will never be machine washed — tailoring wool especially — steam pressing is the traditional way to pre-shrink. It is not a direct substitute for a wash, though. What the fabric needs depends on the fibre and on how the finished garment will be cleaned.
Should I pre-wash quilting cotton?
Either choice is defensible. Pre-washing removes shrinkage and reveals dye bleeding; leaving it unwashed gives the crinkled look that comes when quilt and batting shrink together. What matters is consistency across the whole quilt.
Should I use fabric softener when pre-washing?
Better not to. Some softeners leave a residue that interferes with fusible interfacing and with marking tools. Keep the pre-wash plain.
Does pre-washing remove anything else?
Yes — sizing, dressing and handling residues from manufacture, which is why washed fabric feels softer and often behaves better under the needle.
When to skip it
• The fabric is dry clean only
• It carries a specialist finish you want to keep
• The manufacturer advises against washing
• You are deliberately quilting with unwashed cotton
• The finished item will never be laundered
• The fabric was sold pre-washed or pre-shrunk
The point is to decide, rather than to forget.
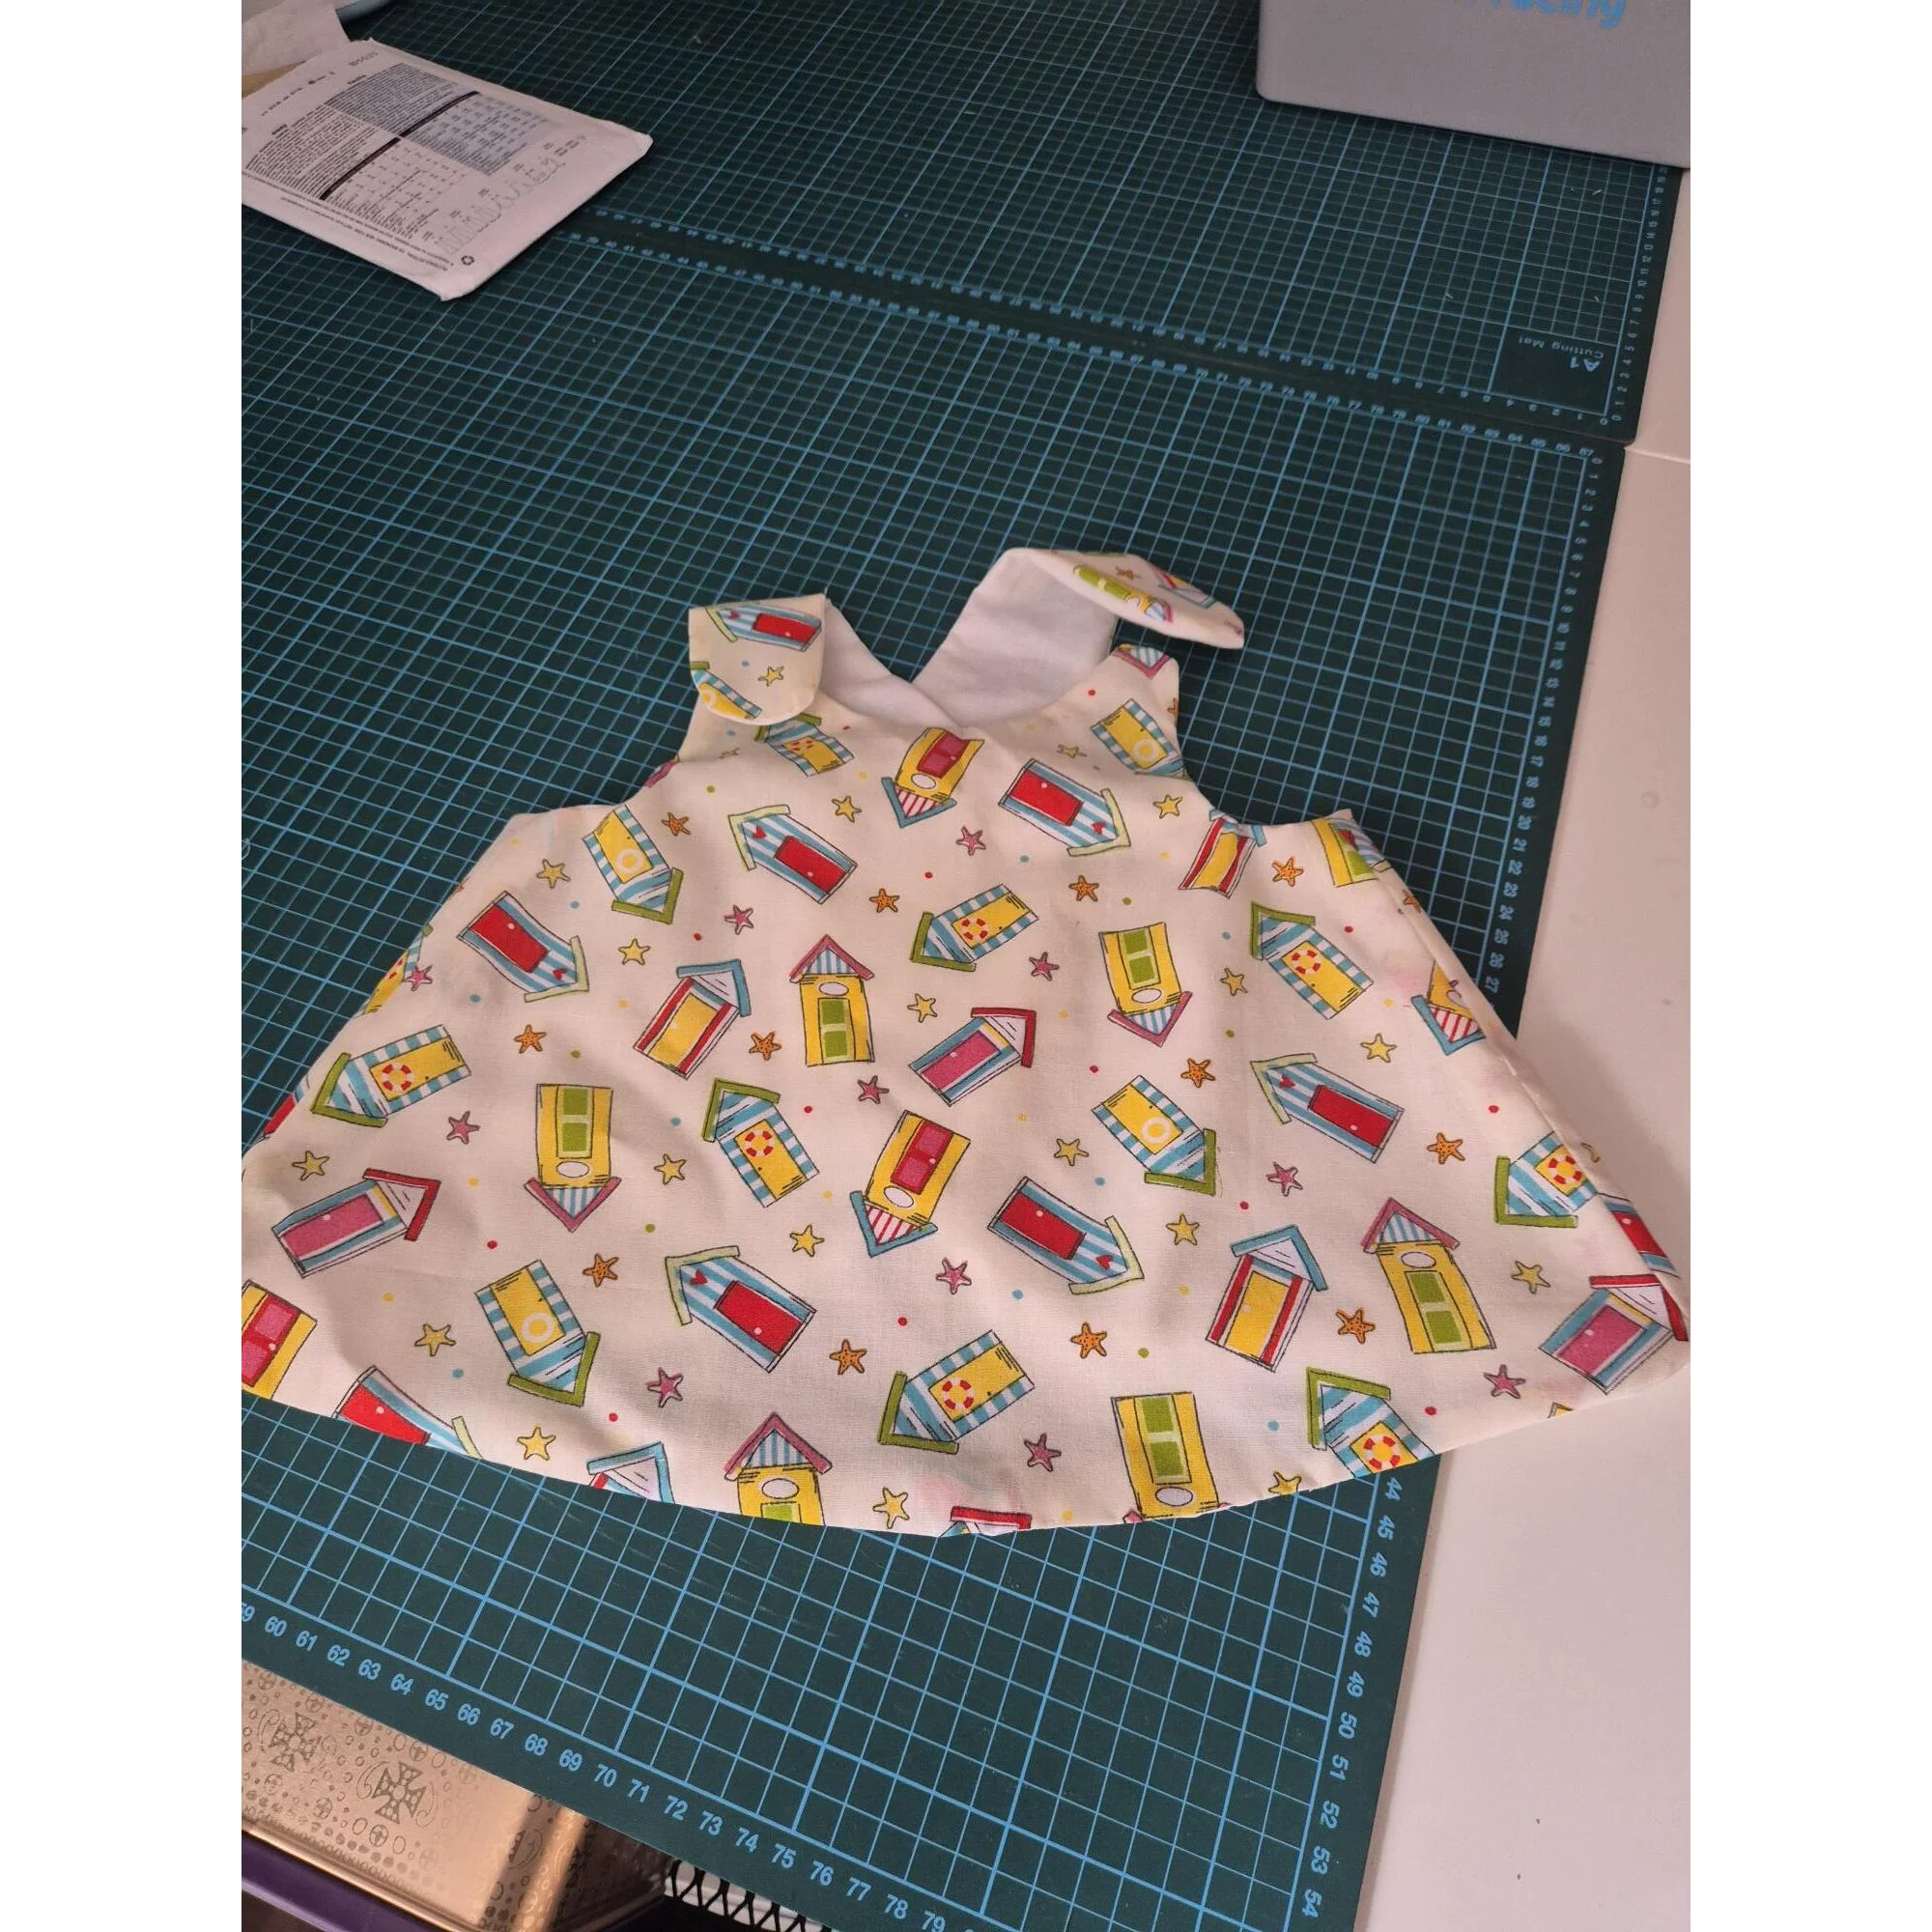
Jacket by Phillipa Day, drafted to measure at evening class and made on a Janome 5060 QDC. Tailoring cloth is the case for steam rather than a wash.
So, should you?
For most washable dressmaking fabric, yes. Prepare it using the same washing and drying method the finished item will get, allow a little extra fabric for what it loses, finish the cut ends before it goes in, and press and square it up before you cut.
Treat it as part of the sewing rather than a delay before it. You would not skip pressing your seams or checking the pattern size, and on a fabric prone to shrinkage this is the same class of step.
The question is only ever which wait you prefer: waiting for the fabric to dry now, or finding out after the first wash that a garment you spent a weekend fitting no longer fits.