






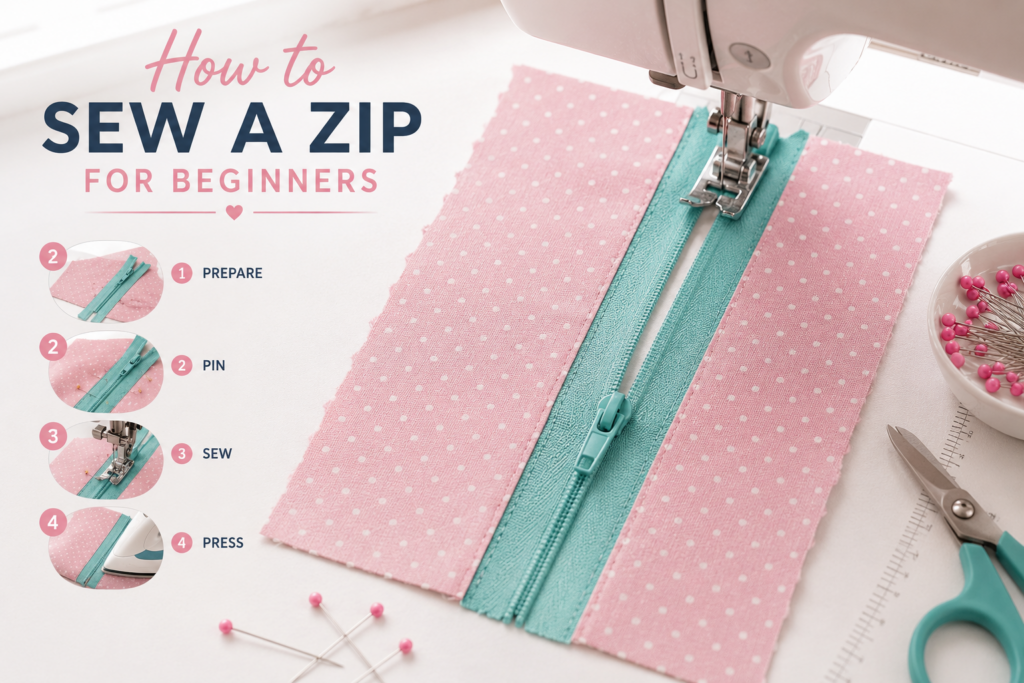
YOU WILL NEED Two pieces of fabric, a zipper the length of the seam, a zipper foot, dressmaking pins and matching thread.
1 Lay the first piece of fabric with the right side facing up, then place the zipper face down along the edge you intend to join. Set the machine to its longest stitch and baste a temporary line of stitching, which holds the zipper steadier than pins and is unpicked once the permanent seam is in; then pin along the edge as well. The zipper should run the full length of that edge. If a zipper of the exact length is unavailable, choose one that is slightly longer rather than shorter, as excess length can be accommodated but a short zipper cannot.
ZIPPER PINNED FACE DOWN
2 Fit a zipper foot to the sewing machine and stitch along the length of the zipper tape, running the seam close beside the teeth. Backstitch as you start and again at the end of the run so neither end of the seam can pull loose. Keep the same distance from the teeth throughout so the seam remains straight and even.
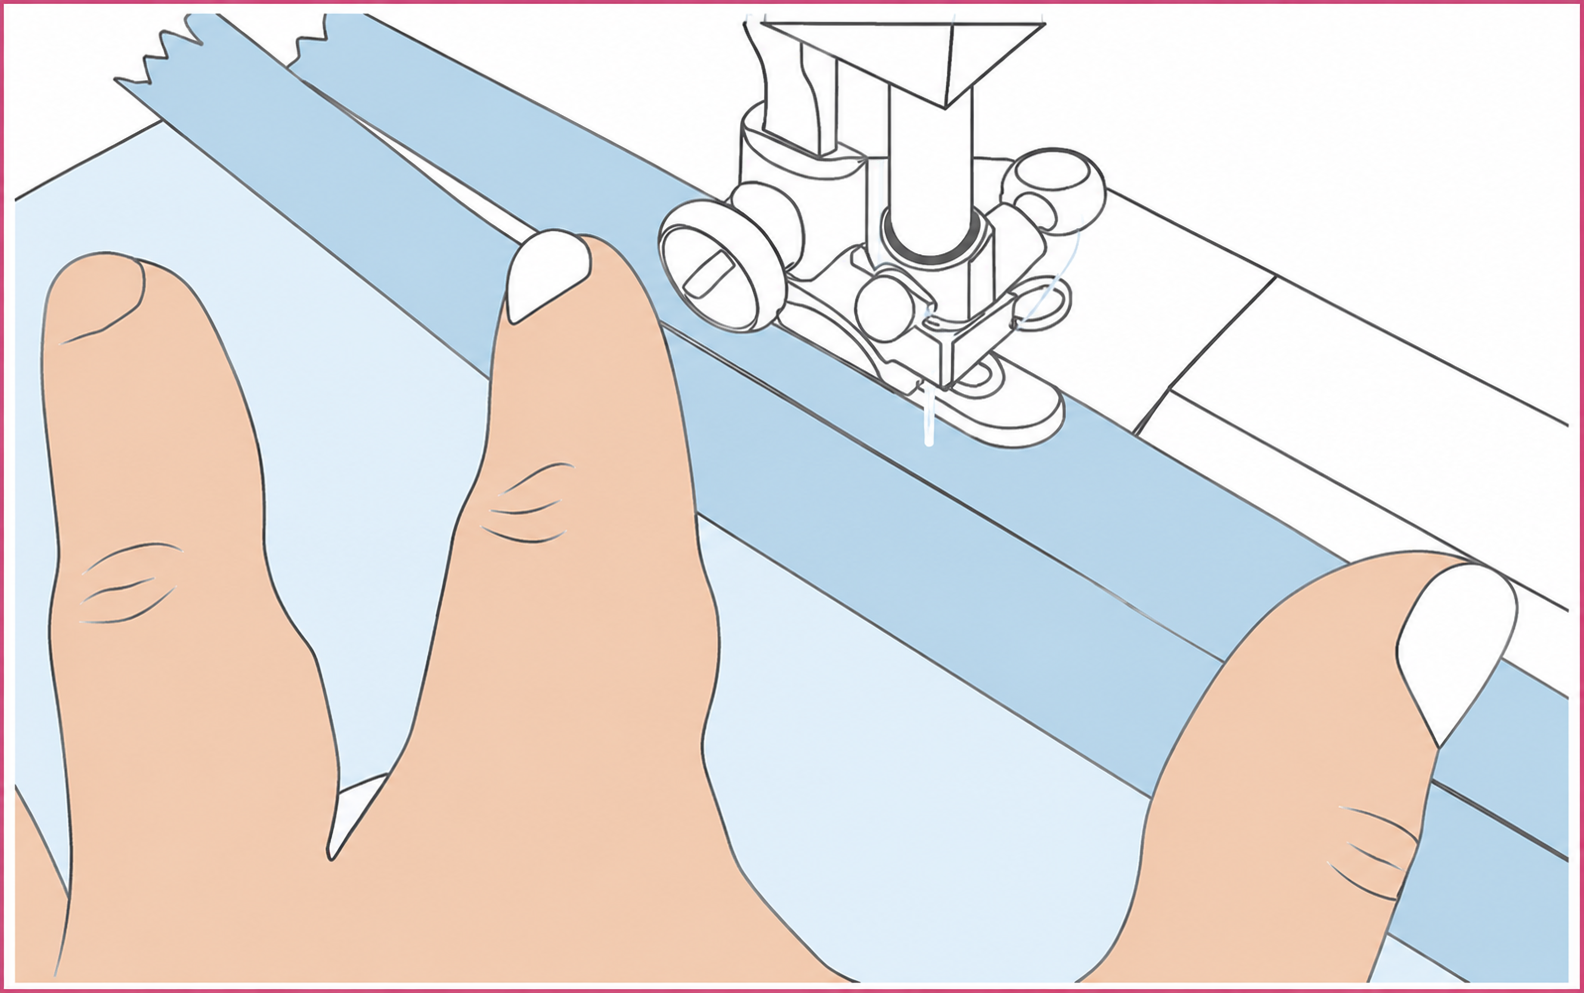
STITCHING THE FIRST SIDE
TIP Before you begin, slide the zipper pull down to roughly the halfway point so the needle does not run into it. Once the seam approaches that position, stop and close the zipper again, then continue stitching to the end.
3 Attach the unsewn side of the zipper to the second piece of fabric in the same way: lay the fabric right side up, place the zipper face down along its edge, then baste and pin through both layers. Before pinning, zip the sewn side up to the loose tape and mark with chalk where each seam falls, then unzip and pin to those marks so the two sides finish level.
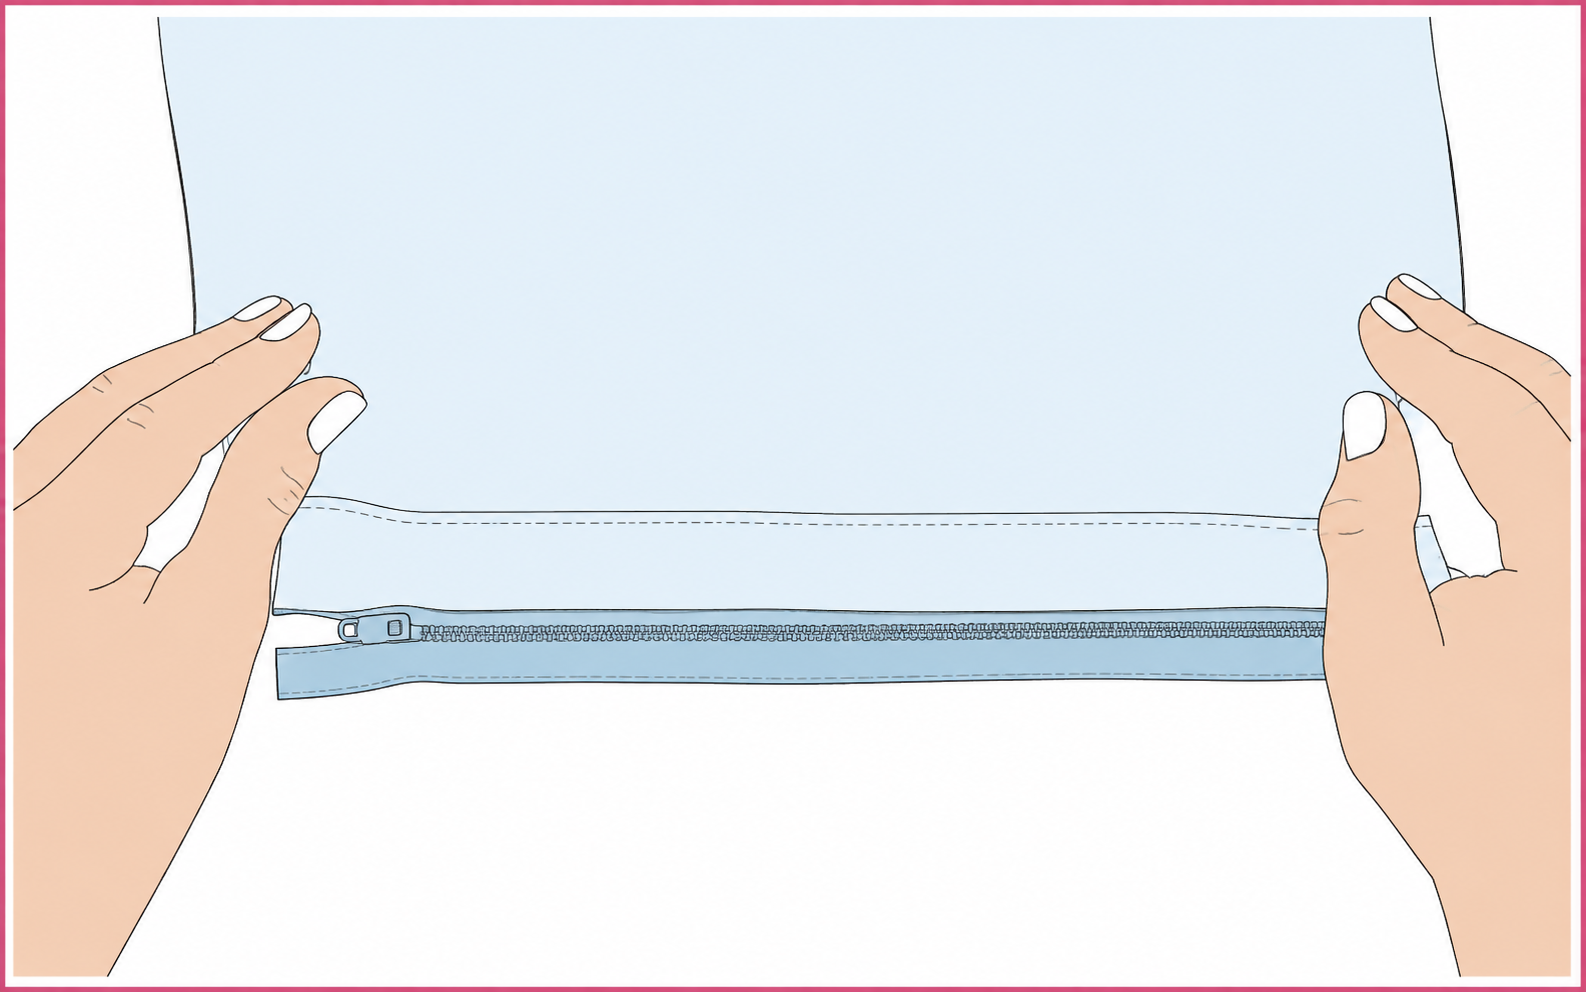
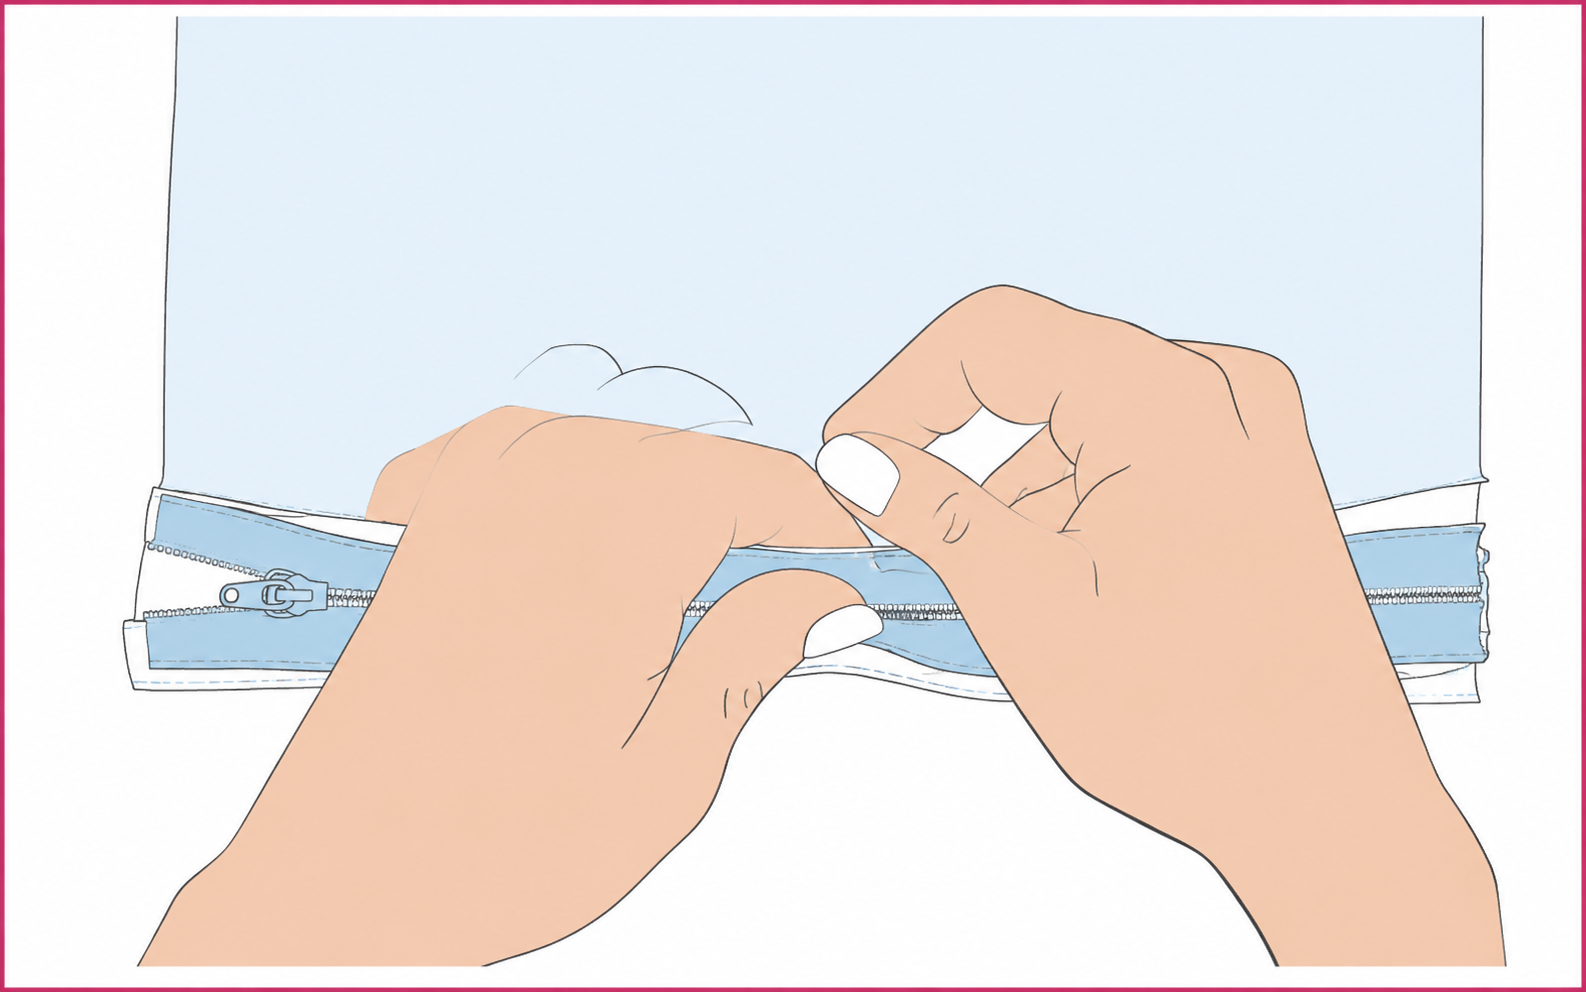
SECOND SIDE PINNED, AND THE TAPE PINNED THROUGH BOTH LAYERS
4 Stitch this second side in the same way as the first, backstitching at the start and finish of the run, but begin at the bottom of the zipper, near the bottom stop. Keep the seam the same distance from the teeth as on the first side so both sides finish level with one another.
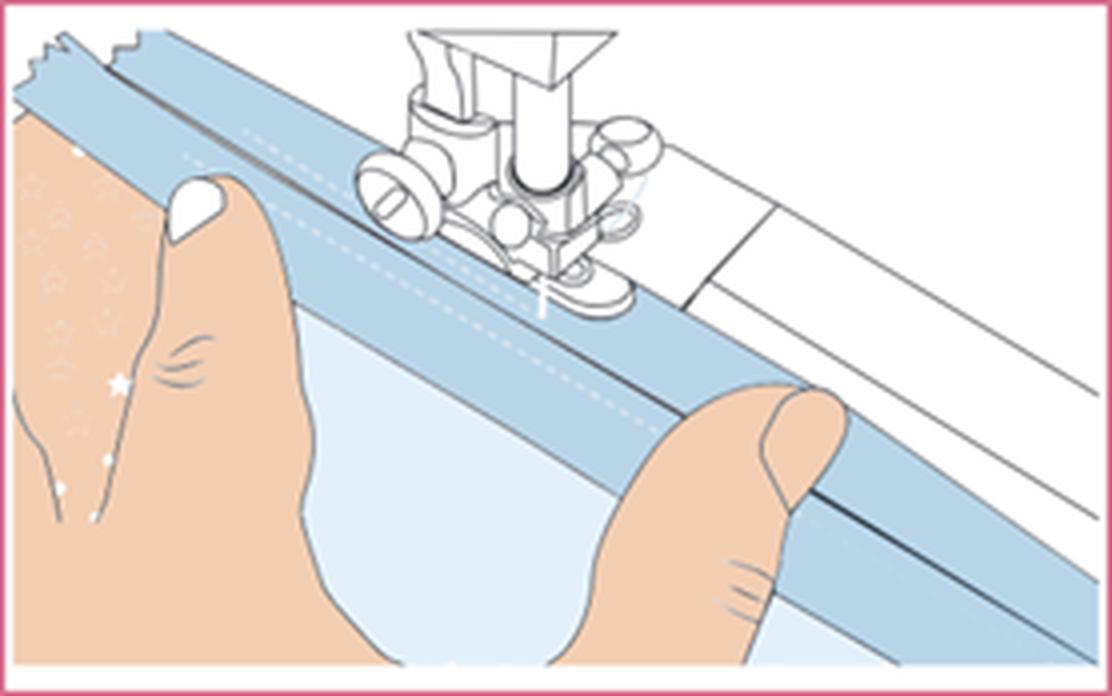
SECOND SEAM FROM THE BOTTOM
5 Test the zipper before you finish: run the pull all the way down and back up to check that it moves freely and that both sides sit level. Then, for a more finished appearance, add a line of topstitching along the zipper. Turn the work over so the right side faces up and the zipper shows slightly between the two pieces of fabric. Start at the zipper pull at the top, roughly 1/4″ away from the teeth, and stitch downward to the base. Repeat the same line of stitching on the other side.
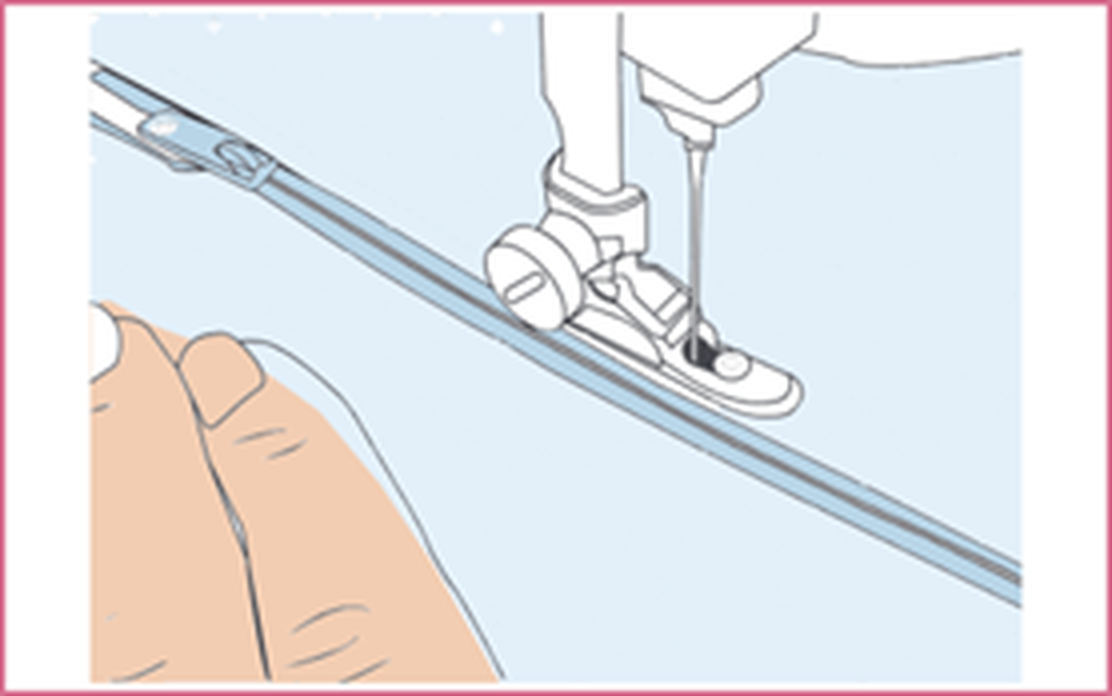
TOPSTITCHING FROM THE PULL
FINISHING Press the seams with the zipper closed, using a cloth between the iron and the tape so the teeth are not damaged. A pressed seam makes the topstitching sit flat and gives the closure its finished shape.
COMMON MISTAKES Stitching too far from the teeth leaves the zipper exposed; stitching too close stops the pull from running. Uneven seam allowances on the two sides are the usual reason a zipper looks crooked once closed.